Raincoat
Sadetakki

Long long "planning" stage + mats
I have actually bought all the materials for this raincoat ages ago (about 2 years I think) and have been borrowing strilla's "Suuri Käsityö" -magazine (3/2010) with the pattern and instructions for about as long by now. x)
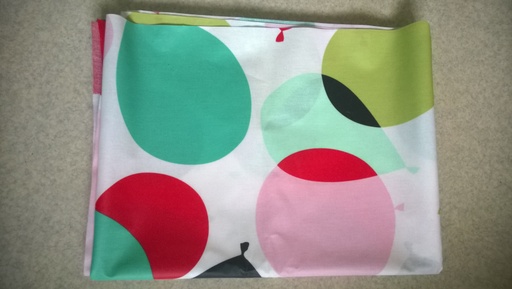
The main fabric is the end of a bolt of "kernivahakangas" (coated fabric) from Finlayson. The pattern is called "Hipat" which translates to party. I have about 195cm of it, when the instructions call for 2,7m for the smallest size which is 36... However there is also raincoat for children and the largest size (152cm) requires only 1,85m of fabric. Since I am quite small, I figured I can get by with what I have by making mine somewhere between the adult and kid sizes.
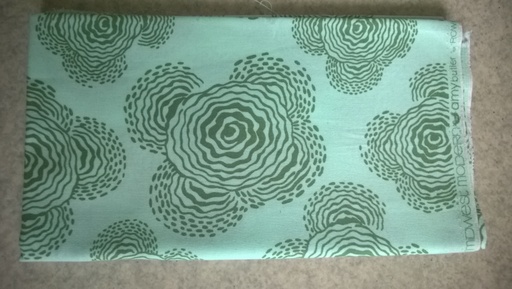
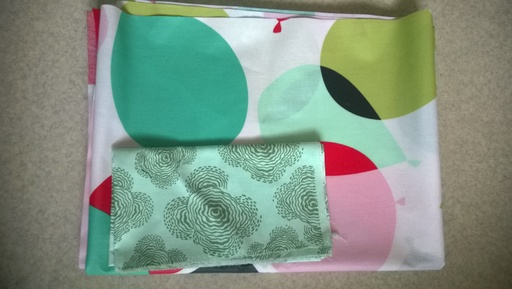
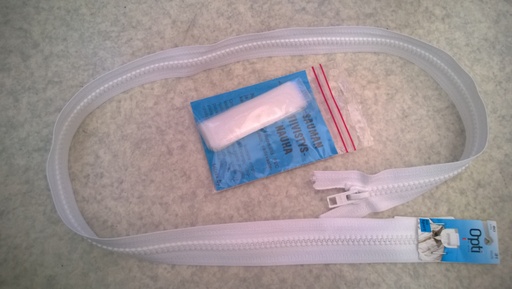
In addition to the kerni, I also have some green cotton fabric for the insides of the hood and the pockets. I picked one that matches some of the balloons on the kerni nicely. Because I just love matching colours. :) Other mats include some stuff to make the seams waterproof (sauman tiivistysnauha), a zipper and either velcro or press buttons. Got some of both, will decide what I actually want to use when I get that far...
I think the main problem with starting was that I first thought I'd make a modified pattern, intermediate between the adult and kid sizes... And drawing patterns is annoying enough when I just need to follow the lines. In the end I just drew patterns using the smallest adult size, going to make the modifications I need when cutting. I am planning to make it a bit shorter and leave seam allowances out, this should make it a size smaller, so size 34 which is my size in most things. :)
Arranging pieces
There is no way I can fit the pieces on my fabric by following the instructions for the adult sizes. So I am going to do it my own way, probably more along the lines of how the pieces are arranged in the instructions for the kid sizes.
I actually tried both ways of arranging the pieces. The instructions for adult sizes are a huge waste of fabric in this size. I couldn't even fit the sleeves there at all and despite a couple of pieces (wind shield & inside edge of the hood) not having patterns, there is just so much empty space. I can understand this possibly being the way to go with the largest size, but for the smallest, waste of good materials.
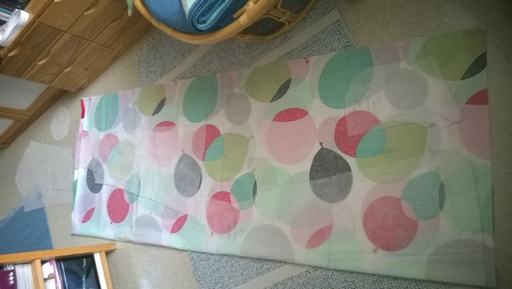
I can't quite fit the pieces the way they are arranged in the instructions for kids' sizes either. The hem in both front and back is a bit too wide, they do not fit side by side and in addition there is no space between them for the wind shield piece. The front piece, hood and sleeve are also too long to fit on top of each other. And again so much wasted space!

Playing with the pieces made me realize that the balloon pattern doesn't really have up and down. So I can just turn the front piece upside down and after that everything will fit quite nicely. There is not much extra, but just right amount is much better anyway. :)

Cutting away!
I decided to leave seam allowances out to make the size a bit smaller. There are three places where I did add them: ends of sleeves (I hate too short sleeves), pockets (so they aren't too small) and the inner edges of the two pieces for the inside of the hood (so that both sides of the hood end up the same size).
Since the raincoat is more waterproof the less holes there are, I used as few pins as possible when attaching the pattern to the fabric. So basically just corners and even there they are in the area that will be the seam allowance (since I did not add any).
And of course I forgot to add the seam allowances to the end of the middle piece of the hood lining (I remembered the two edges, just not that it should be added to one end also). I just cut an extra few cm piece there... I don't think anyone but me will even notice :P
Sewing
I decided to use green thread instead of white, to give the coat a bit more color. The lining in the hood and pockets is green and there are 3 different kinds of green in the balloons of the main fabric, so I think emphasizing these will look better than matching the thread to the background white. I had two different light greens, I chose the one that is slightly more bluish than yellowish, it looks like a better match of the two.
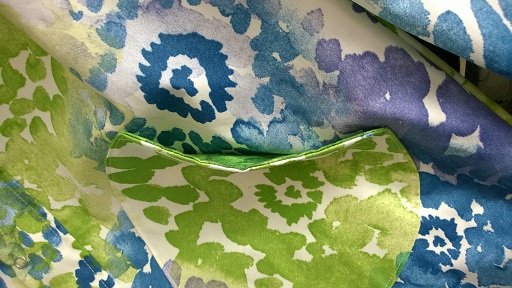
I do not like the look of the completely round pockets that much. But I don't want to spend time trying to figure out my own pocket shape. So I decided to add one straight edge to them, instead of full circle. Also definite use tape for attaching pockets when sewing, pins just do not work...
The seam waterproofing stuff is slightly rougher on one side than the other (and it matters when ironing it on). Unfortunately the difference is so slight that my fingers didn't notice it. Use lips instead. :)
Bleh
After I had sewn the shoulder and side seams and attached sleeves, I ran across two problems: first was that since I left out seam allowances, my hood was smaller than the hole it should fit into... And two: when I tried the raincoat on, it looks like a lab coat with lots of paint splotches. The pattern is just too large to work and the white background is too visible.
v2.0
I have little interest to finish something I don't like. So I got some better fabric, and matched it with green that I bought when making Catan but never used.
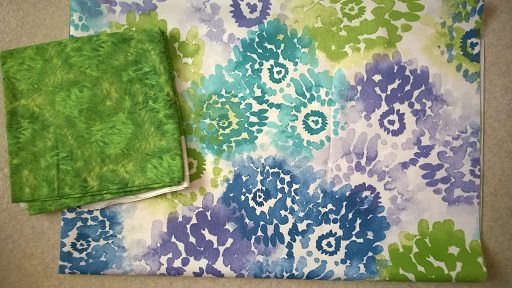
This time I did add the seam allowances, but the cutting is as before since the new pattern is also such that the direction doesn't matter. I am quite proud of how well I managed to use the stuff, hardly any useless left over parts. :)
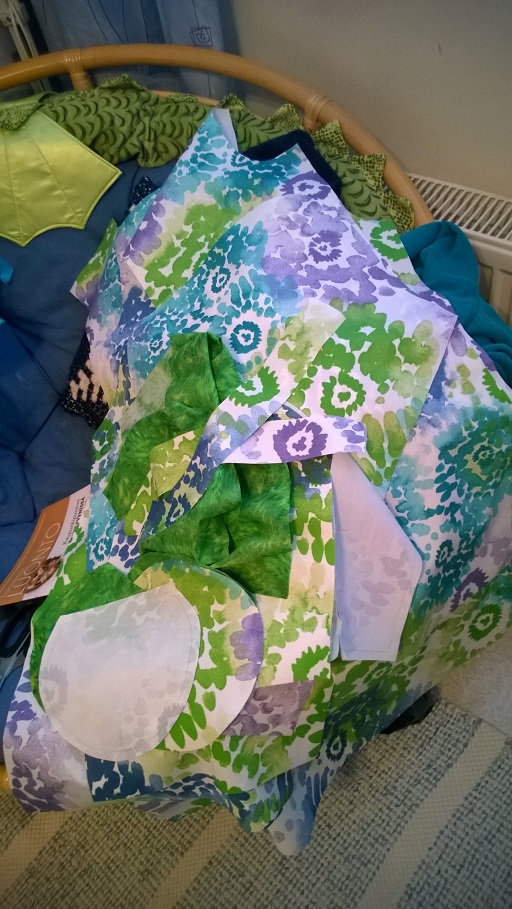 Leftovers:
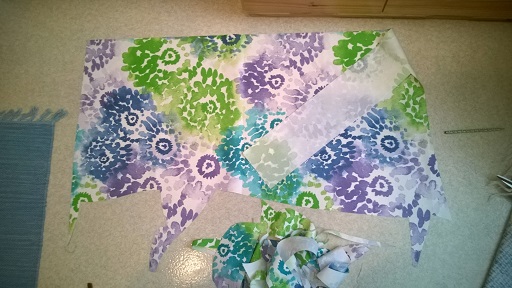
Got up to the hood just fine, but now I got stuck. The hood is HUGE. Need to decide if I want to make it a bit smaller, so it actually has a chance to stay on...
The hood has a rather long collar-part. I think I can make it a bit smaller simply by taking few cms off from the collar part. That way it has a chance to be useful in actual rainy and windy weather. Plus I will get this thing finished sometime...
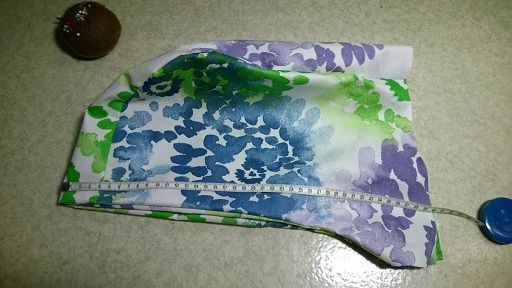
I measured the hood of my Firefly softshell-jacket, which has similar hood with a collar, but in better size. It is 5cm shorter from top to bottom than the raincoat hood, so with seam allowance, 4cm off from the bottom did the trick. I also took a little bit from the width so the round measure matches too. The side effect of this change is that there is 5cm less length for zipper. Good thing that I actually originally had bought 5cm shorter zipper, so it works just fine.


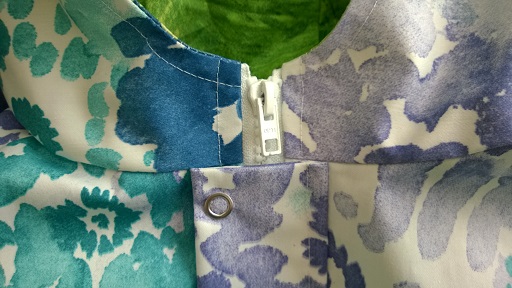
I had a 12,5cm wide leftover strip, so I decided that will do for the windshield panel, instead of having to cut 17cm wide strip somewhere else. I also switched the velcro to some press fasteners. Since the raincoat is mostly used during fall and spring when mittens are also needed and I just hate how woollen things get stuck on velcro...

© 2011-2026 Peeta Kiikka | Template design by Andreas Viklund