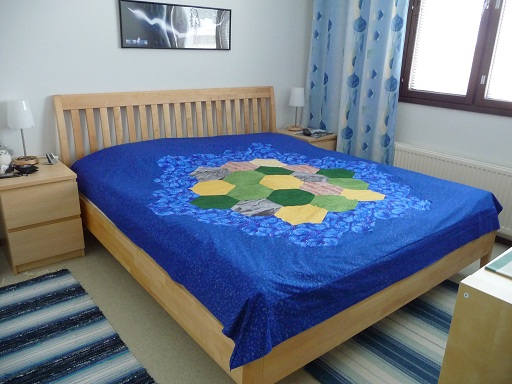
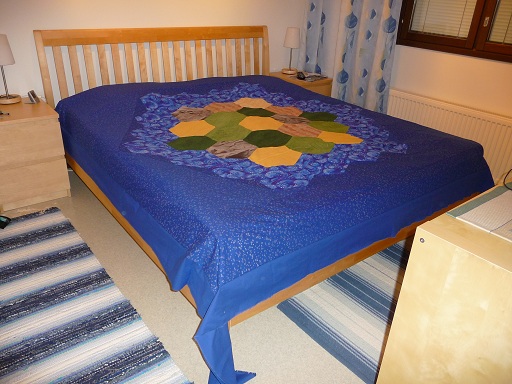
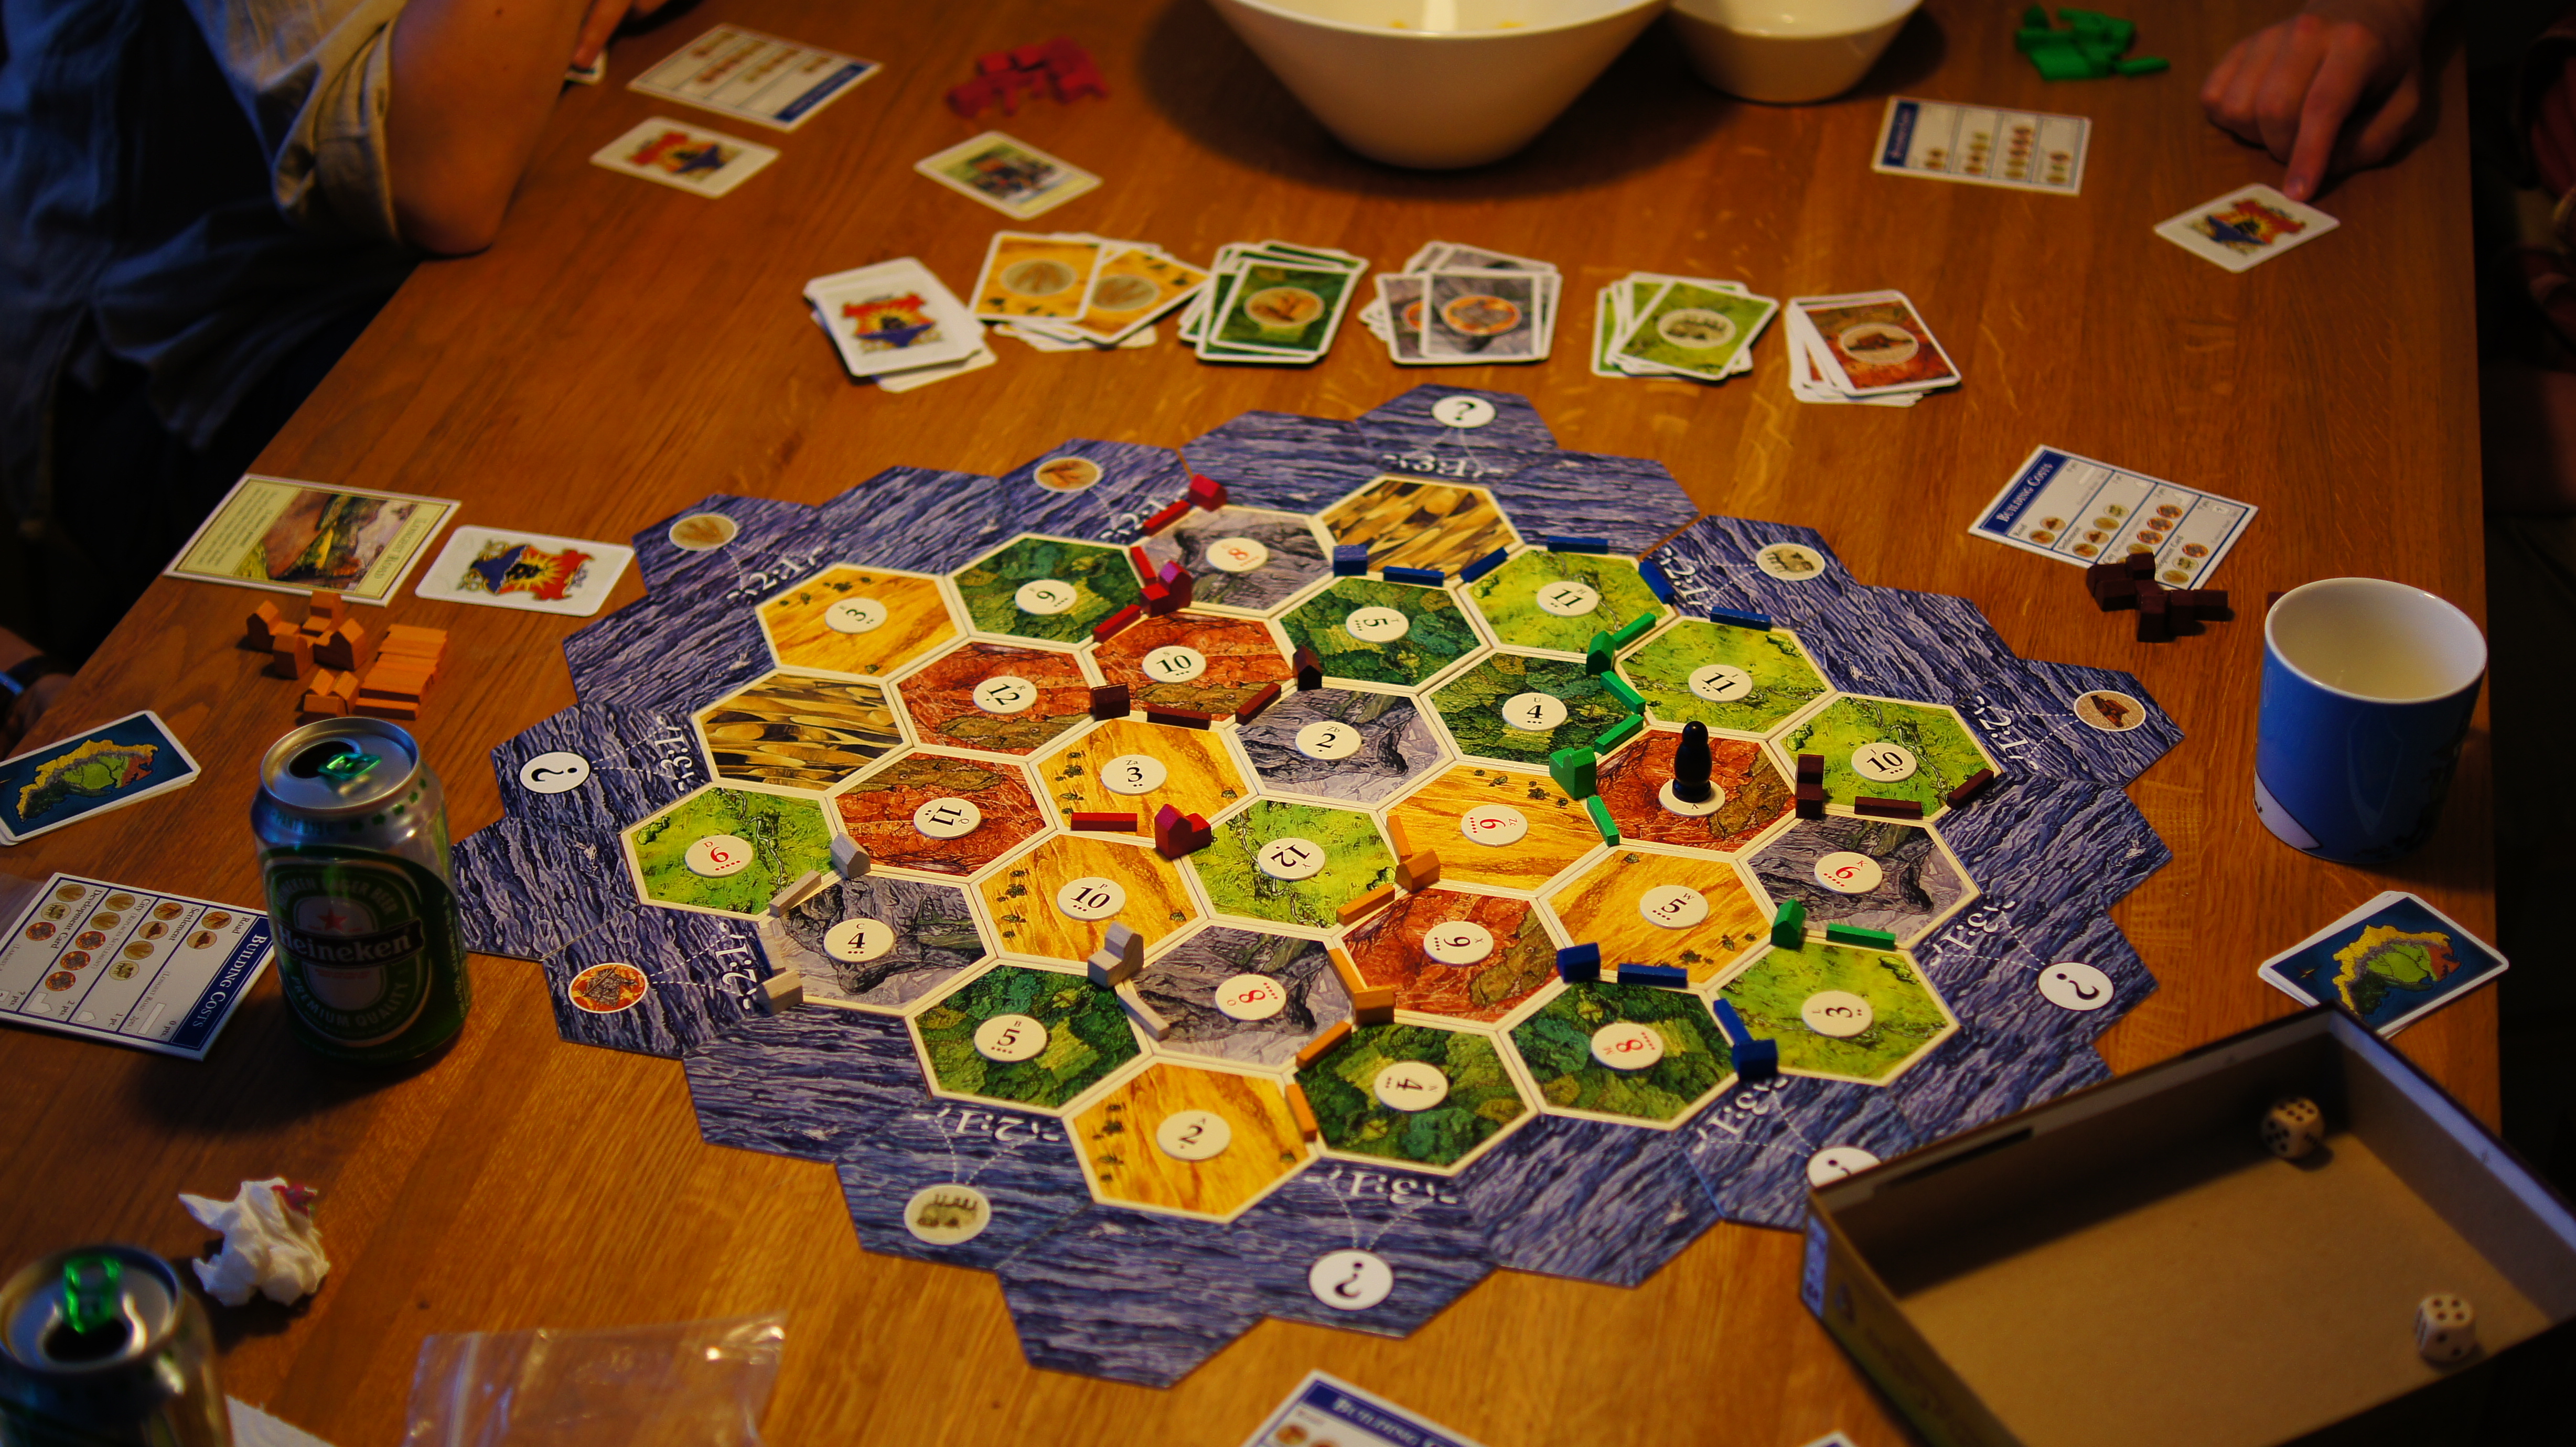
Settlers of Catan
bed cover
Coastal road!

Start of the project
Tbh I don't remember when this project actually started. The first pics with all the fabrics I have are from March 23rd 2010, so it must have been sometime before that. Pretty sure it was early 2010 anyway. x)
I guess I must credit the idea to Late who noticed that the hexagonal pieces in my mother's quilting book I was browsing through, looked like pieces from the Settlers of Catan board game. We had just gotten a new double bed so making a bed cover seemed like a great project.
Getting materials
To make the Catan bed cover, I needed to find matching fabrics for all the different land types in the game: forests (lumber), loam (bricks), grasslands (sheep), fields (grain), mountains (ore) and deserts, and of course the sea surrounding the island of Catan.
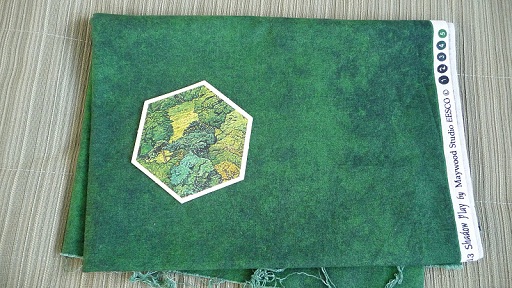
First place I checked was my mother's quilt fabric hoard. I found absolutely perfect mountain and an adequate loam.
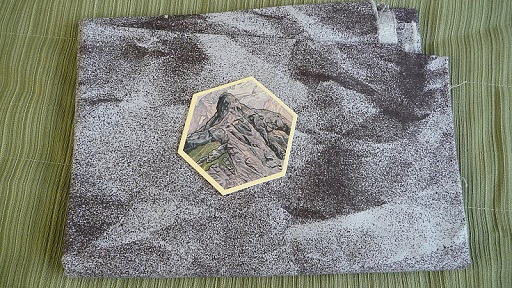
Mountain and loam fabrics with the corresponding game pieces.
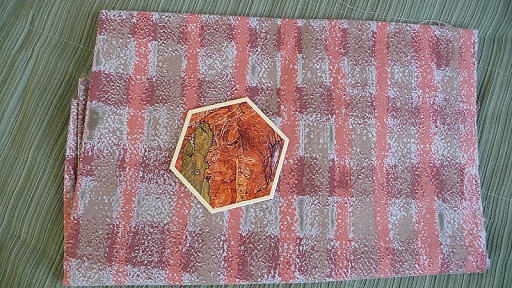
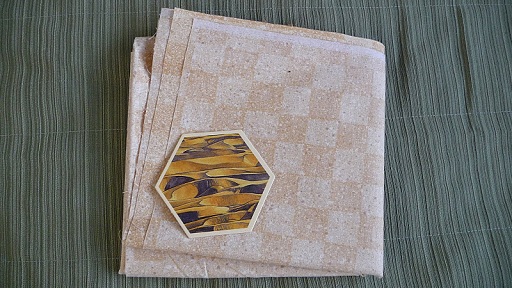
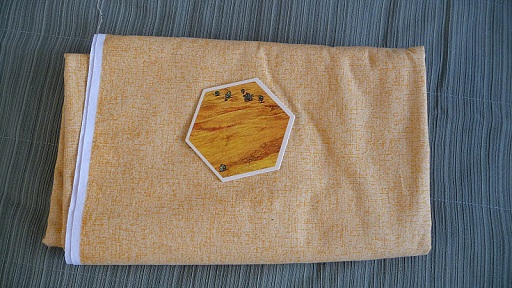
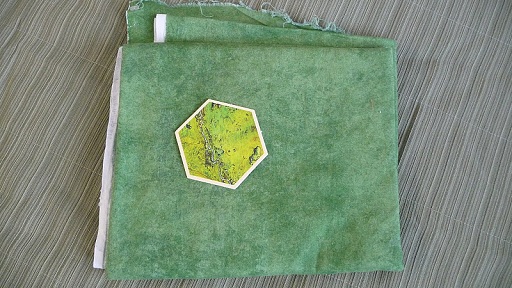
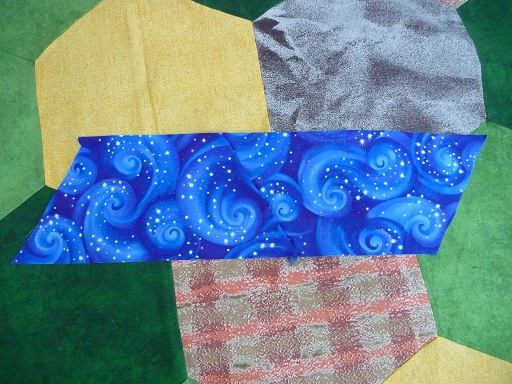
My mother talked to her coworkers about my project and apparently one of them is a quilter herself and offered some fabrics. There was a nice desert amongst them. For the rest, I went to check what Eurokangas at Tullintori had to offer. From there I found a rather nice fields and really pretty forest and grasslands. These two have the same pattern in different colors (lighter and darker green), during this trip I also found a great fabric for the sea. I think it is actually supposed to be sky, as there are stars here and there, but the swirls remind me of waves so much that I took it for my sea fabric. Unfortunately there is not enough of the "sea" for the whole bed, so I also got this star fabric to go on the edges. Adds a bit of Discworld to my Catan. x)
Desert and field.
Forest and grassland.
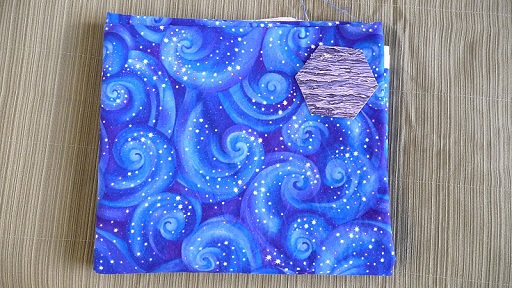
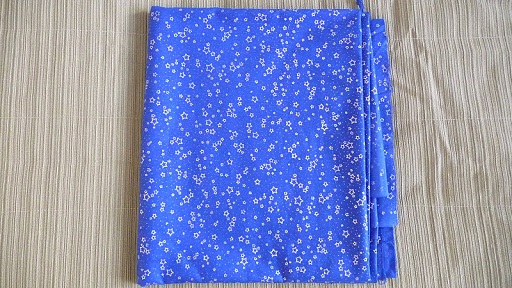
Sea and stars.
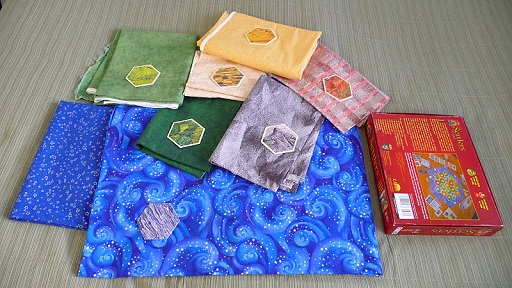
All the fabrics plus the game box.
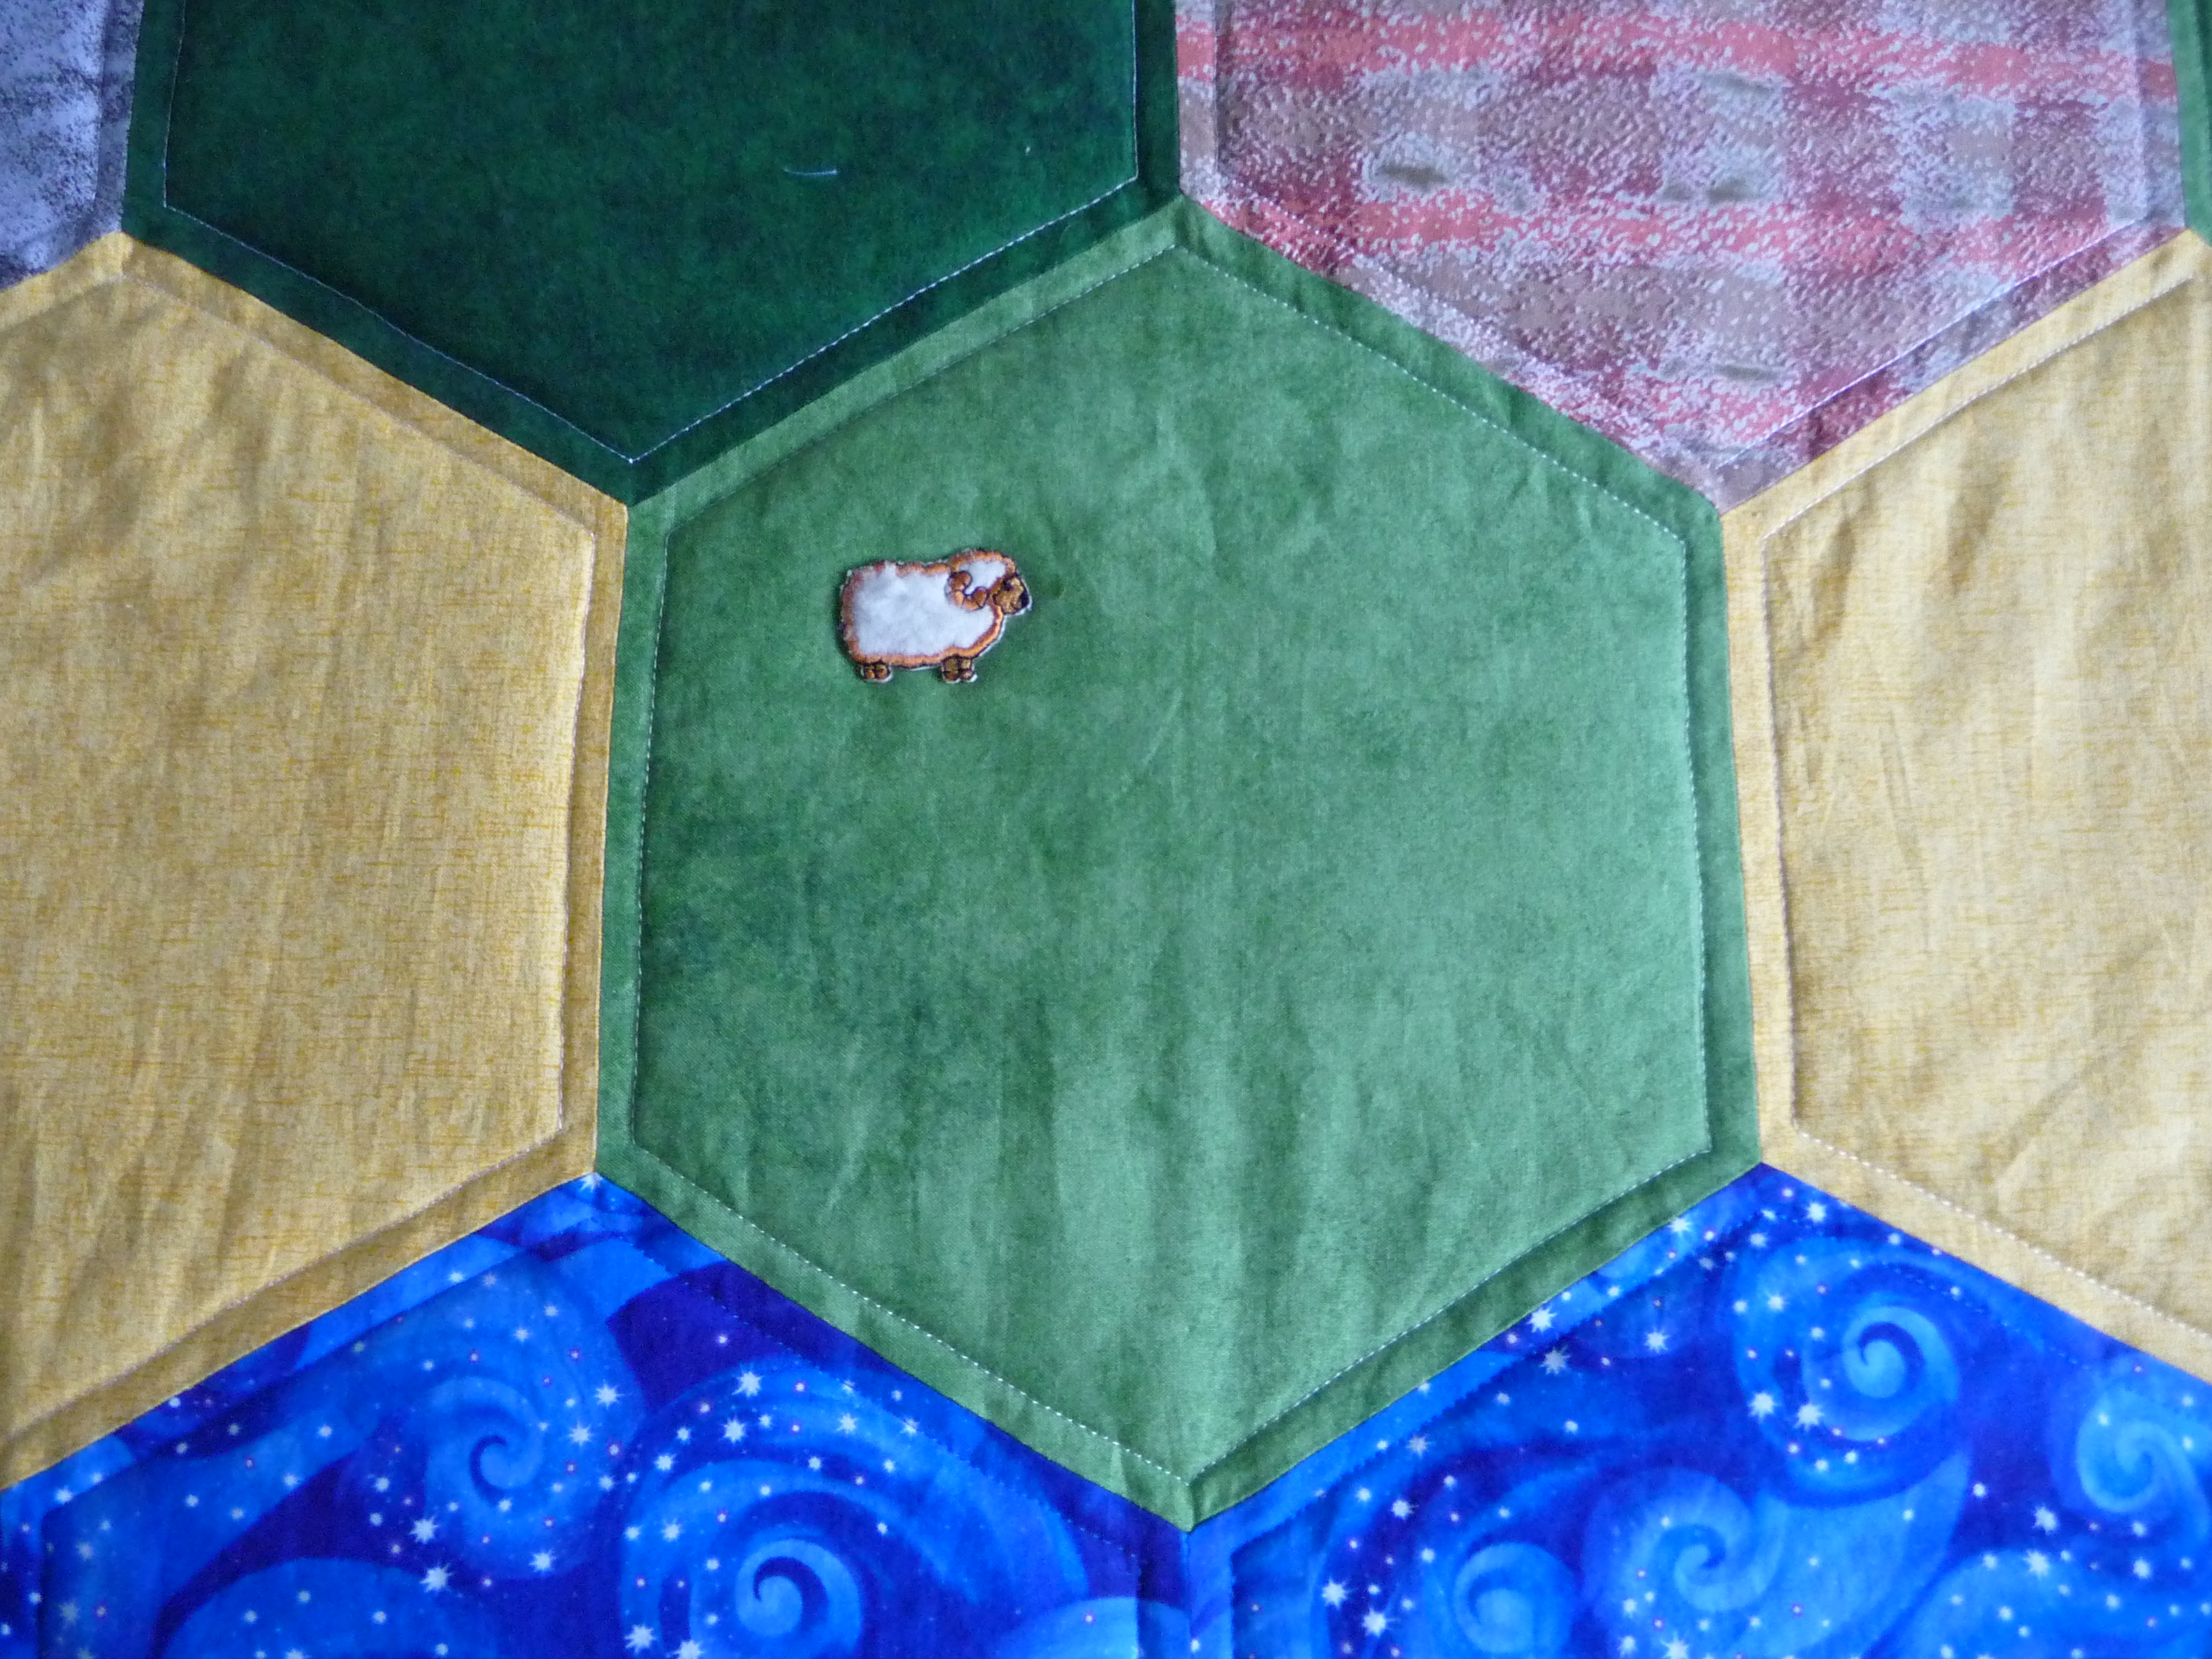
In our games, sheep have quite often played a big part (they've been made into plenty of road and villages and even cities), so leaving them out was a no-go. I first thought I'd make some sheep out of felt, but then found some embroidered patches that were perfect.
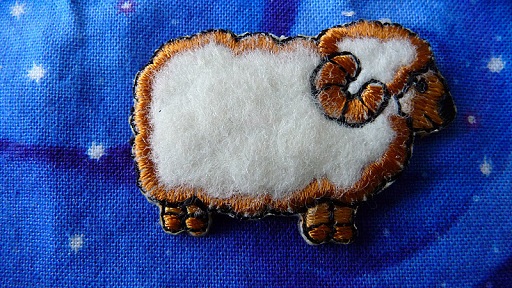
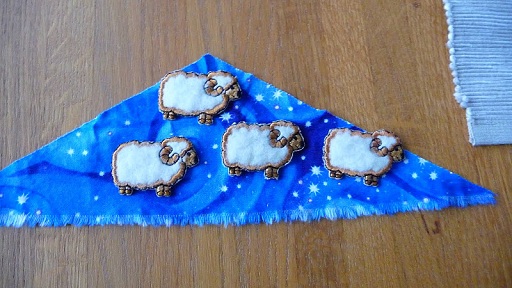
Sheep and four sheep. :)
Cutting the pieces
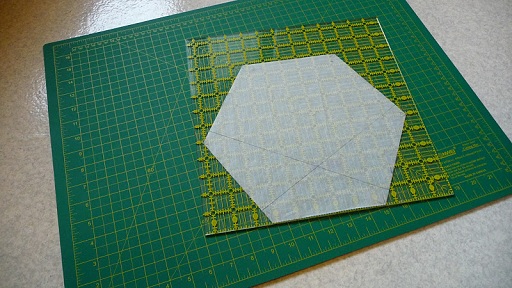
Since I found nice instructions, I used a compass for drawing my hexagon pattern on parchment paper.
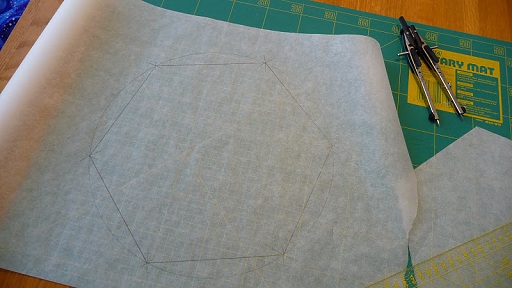
Hexagon using a compass.
For cutting the fabric, I borrowed my mother's equipment: rotary cutter, mat and ruler. The ruler has some nice angles (60 and 30 degrees) that make it easier to cut them.
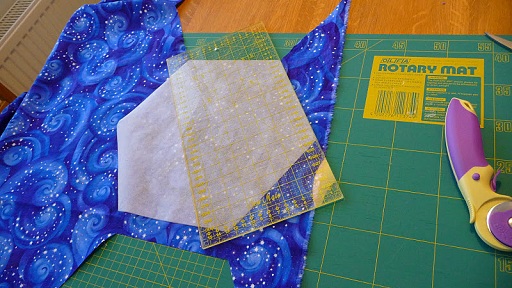
I first cut the pieces by just rotating the ruler and keeping my pattern put. But I ended up cutting the pattern several times, so had to find a better way... I just taped the pattern to a ruler, so it wouldn't move. :)
Better way to cut shapes, pattern taped to the ruler.
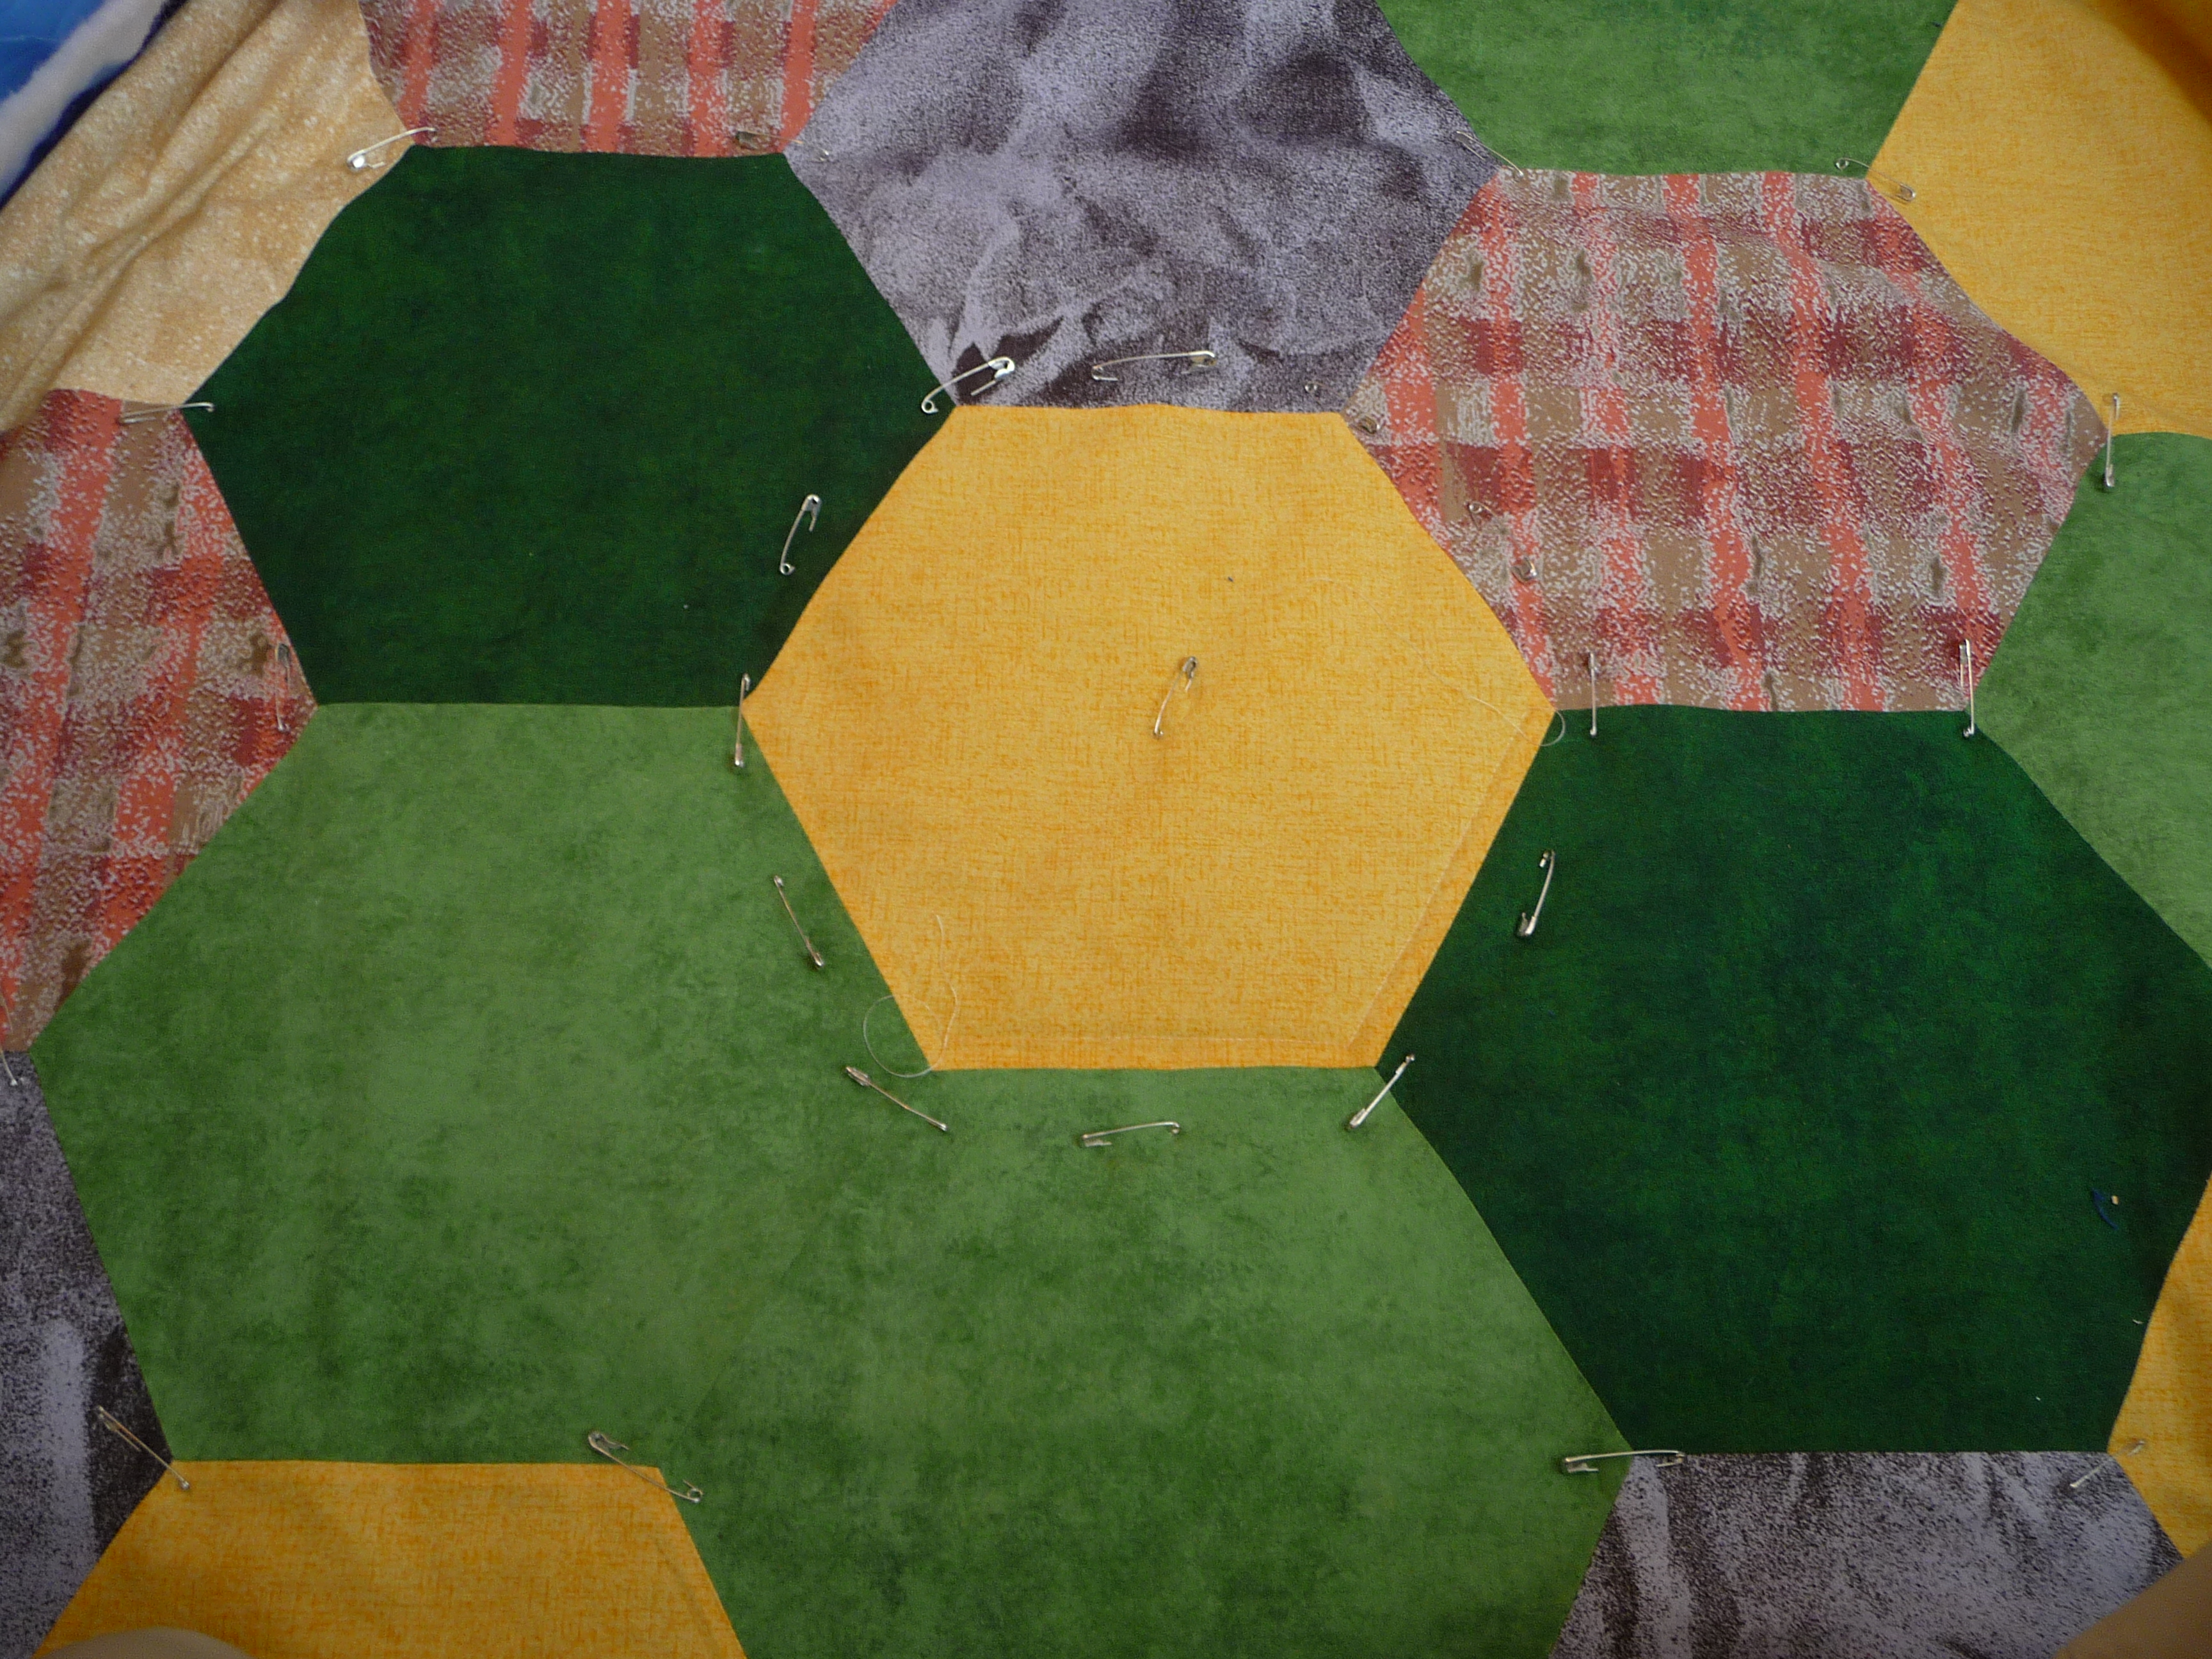
Planning the board
I wanted to make my board balanced, so that no two pieces of the same type would be next to each other. This obviously is not the case when you play (the pieces are arranged randomly, and often two of the same end up side by side), but for my purposes it looks better.
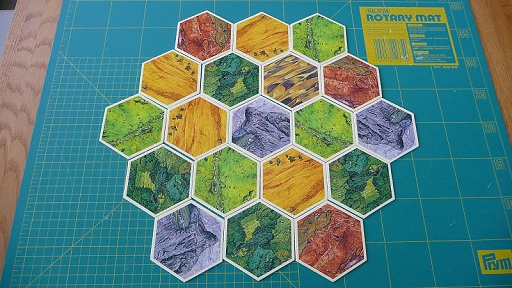
Playing with the game pieces, both cardboard and fabric.

Added a row of sea pieces.
I originally planned to use all of the sea fabric around the game board and had already cut all of it into hexagons. From playing around with the pieces it became obvious that this would look too messy. So I decided to use only one row around the island and add the star fabric after them. This left me with a lot of extra sea hexagons which I needed to put to use somewhere.
Planning how to use extra sea pieces. This would be very difficult, discarded.
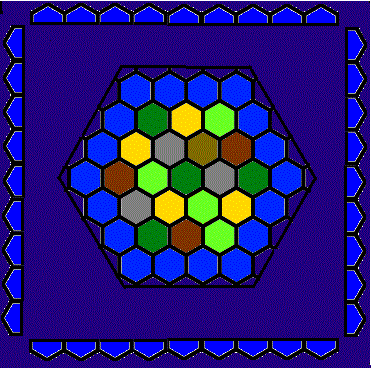
Playing with the pieces of fabric was a bit difficult, so I switched to planning using my computer and MS Paint. This was the design I thought looked the best.
Putting everything together
The actual board I ended up making is slightly different from what I planned, as the picture on the bottom of the game box looked better than what I had planned... Ended up using that instead. :)
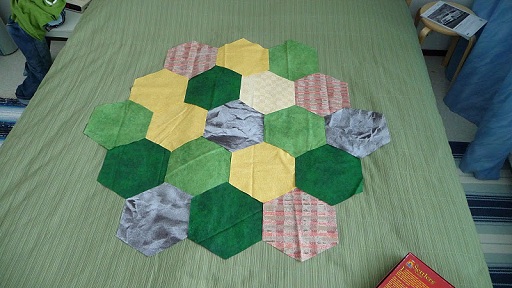
First I sew the pieces into rows. Then I sew the rows to each other. Since the edges of the rows are not straight lines, but a zigzag pattern, I had to pin one side at a time, sew it, then do the next one. I also tried doing several at once but the result was messy and it was also a lot more difficult at the corners.
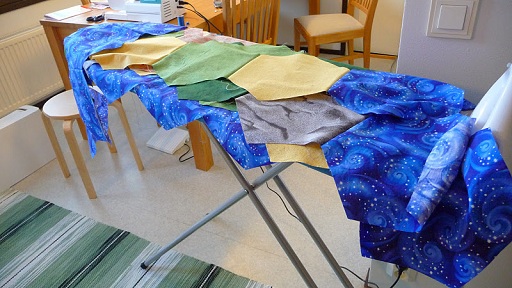
Rows on an ironing board. Sewing the rows together, one side at a time.

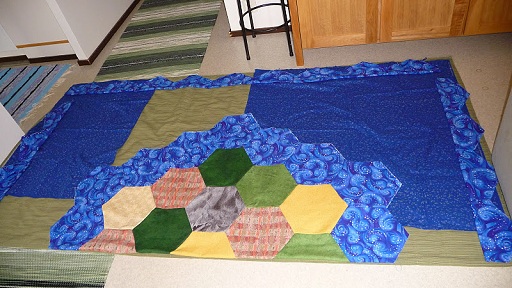
All board pieces sewn together.
Another plan on using the extra sea pieces.
Added small triangles between all the sea pieces and after that bigger triangles in the corners. Now I got a rectangle, very close to a square. It is as wide as the bed, but there is a rectangle missing near the head and at the foot.
And this is where the project has been for quite some time (about a year, all the above text is written in November 2011, but the last picture is from October 2010). I need to measure what is left of the star fabric and use it as efficiently as possible. I am not sure if I have enough to make it quite large enough for our 180cm x 200cm bed, but if not, I plan to just get some plain dark blue sheet fabric and add it between the very edge that will be sea fabric and the stars. Can't add any more patterns or it will be way too much.
Plan on how to use the star fabric. x)
Star fabric is cut in strips according to my plan above, just need to find the interest to sew it to the rest of the thingie...
February 2012: Sewing a seam over 2m long using a stitch with 1mm length is B-O-R-I-N-G! x(
To help with the boredom, I cut all the leftover sea hexagons in half and sew them together as pairs.
Two isosceles trapezoids sewn together.
Since I didn't have enough of the star fabric, I added some plain blue. Only sea fabric missing from the edge now. And then stitching, which might be the worst part.

Only the stitching left. Since I am so not going to do it by hand, looks like I have to buy a part for my sewing machine...
July 2nd 2012: wanted to test how my new desk works for sewing and managed to get a bit more done on this project. Basically I sewed two old bed sheets together to use as backside. Desk worked fine. :) I also sewed the two sheets of wadding together by hand and ironed all the seams in the quilt open. (The pics from this point onwards can be opened larger by clicking.)
 Sewing the wadding here.
 Seams ironed open.
Then I arranged all three layers (quilt, wadding, backside) on top of each other and pinned them together.
 Two of the layers on top of each other on the living room floor. Had to move all the furniture for it to fit. :)
So next step is the actual stitching...
I did not have to buy a dual feed foot ("yläsyöttäjä") since my mother had one and because our sewing machines are compatible, I could borrow hers. Really awesome little thing, made the quilting much easier than I dared to expect.
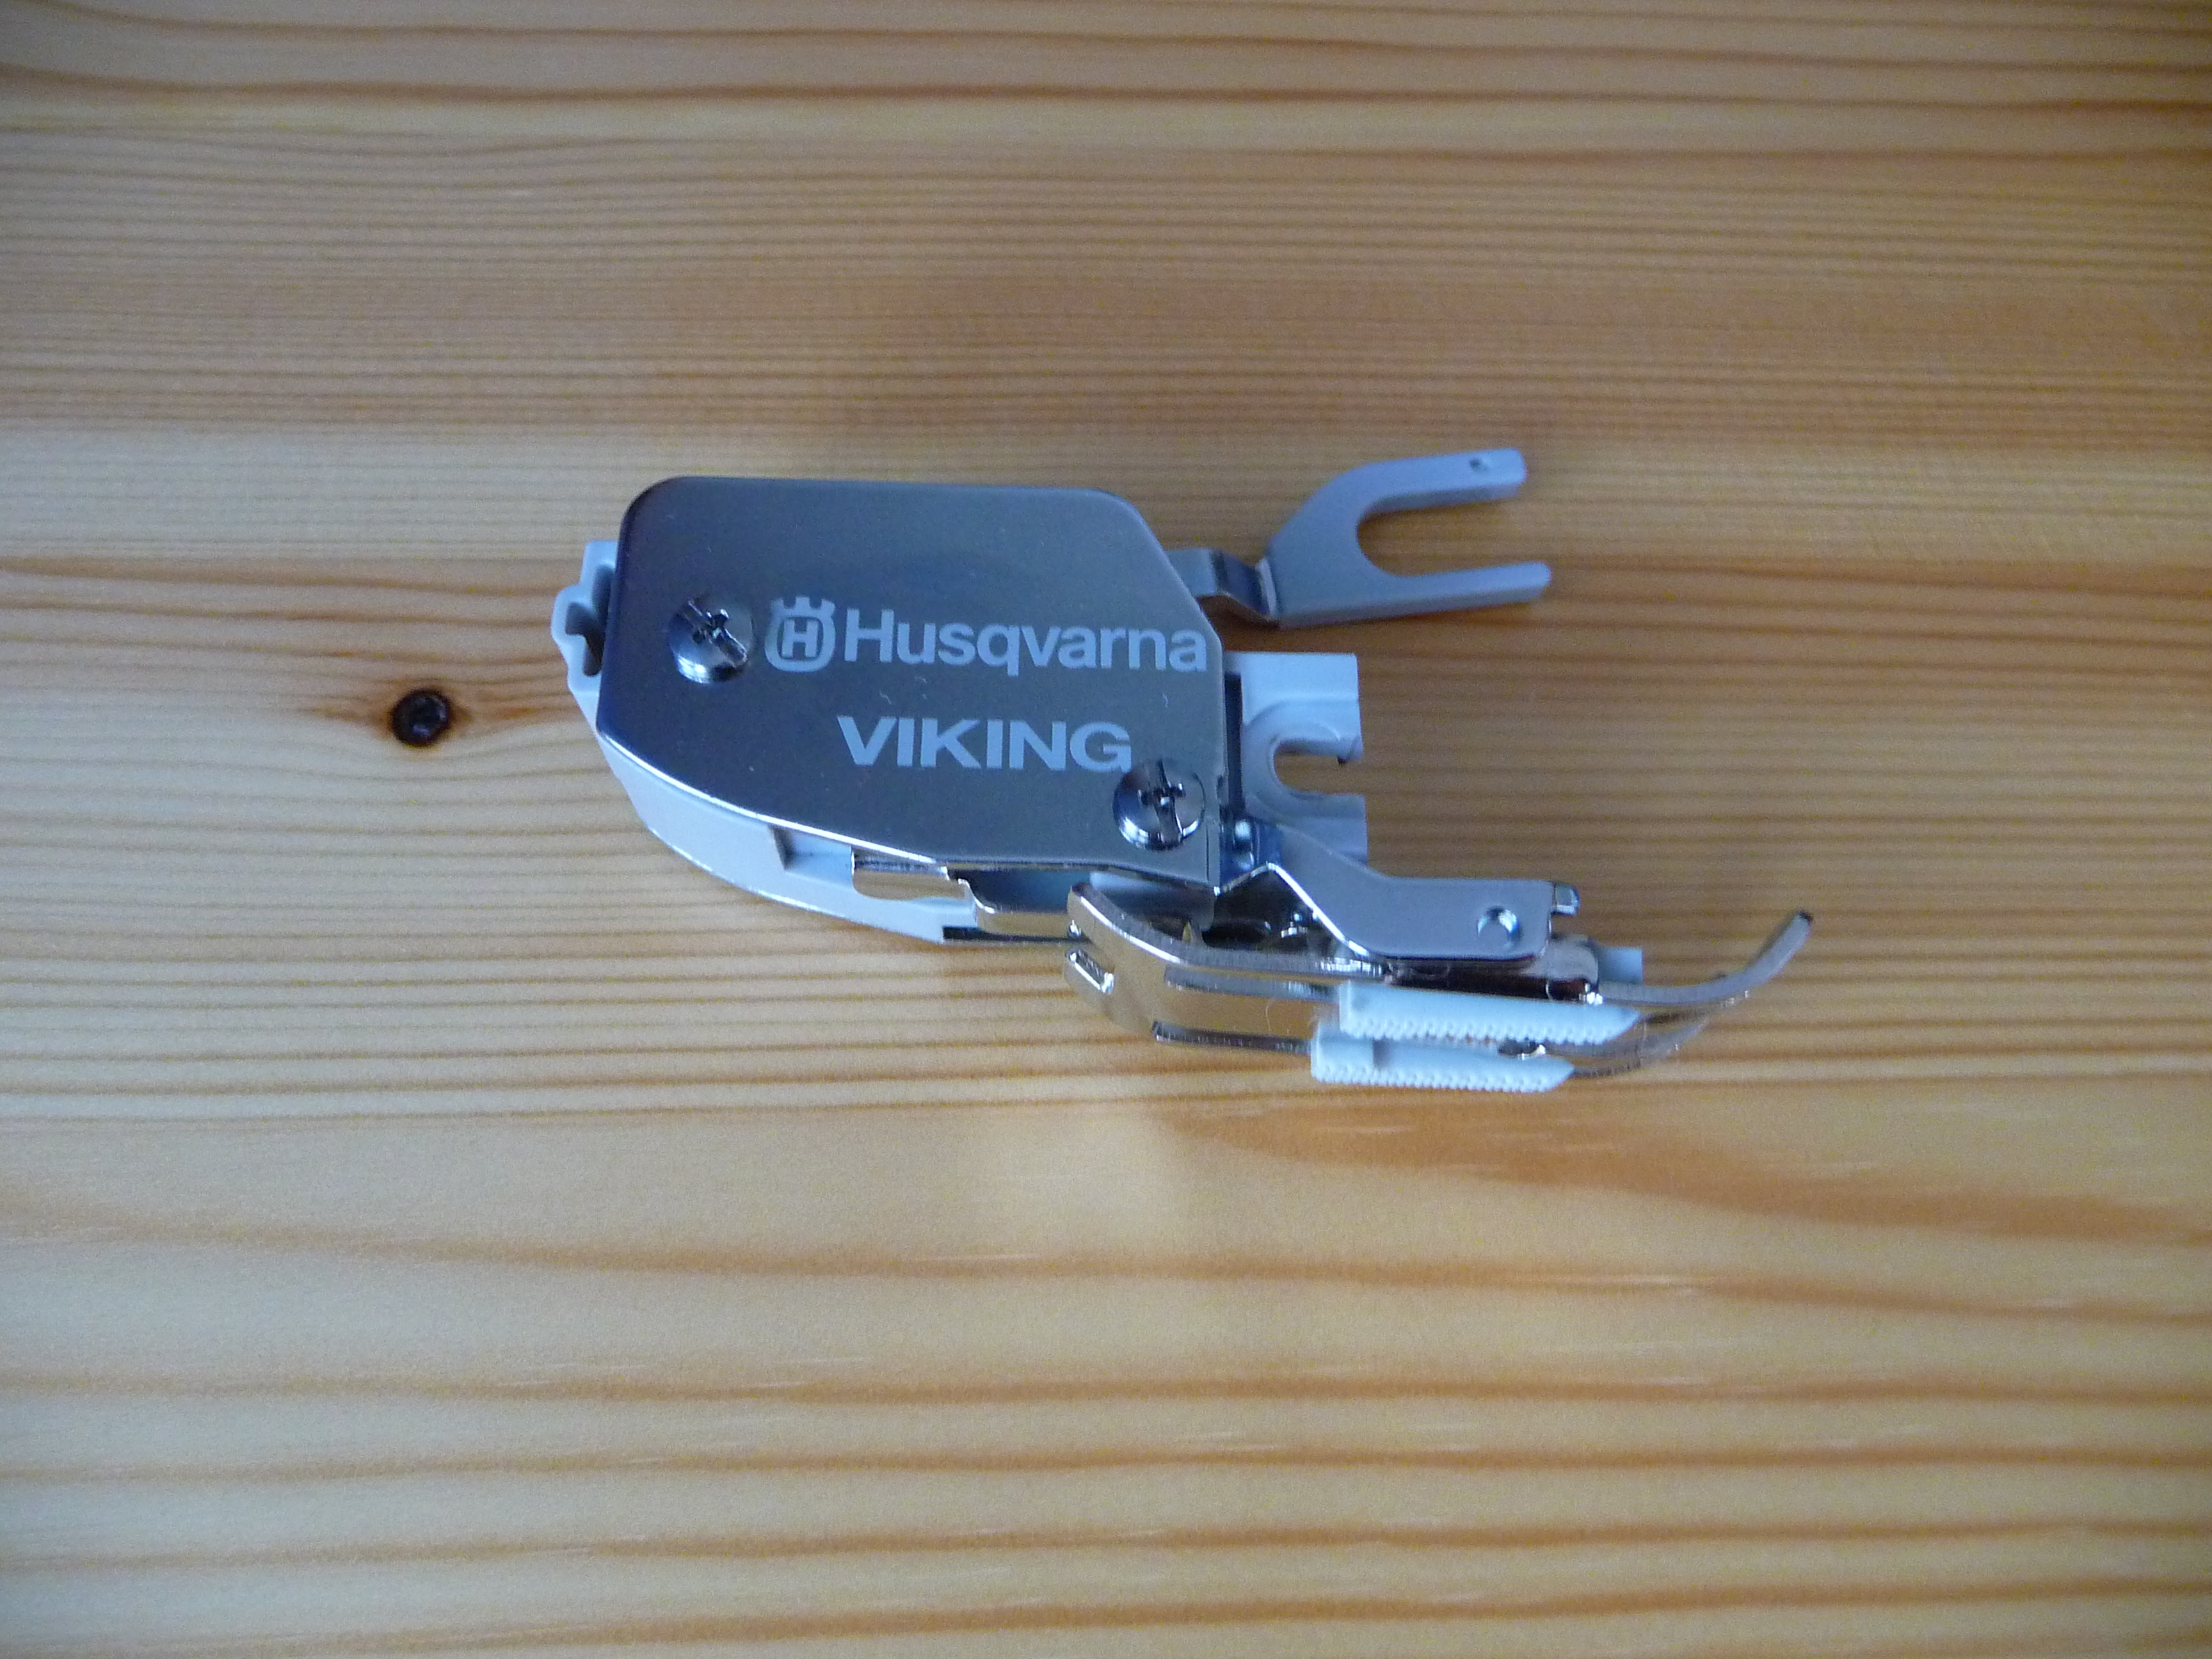
Dual feed foot.
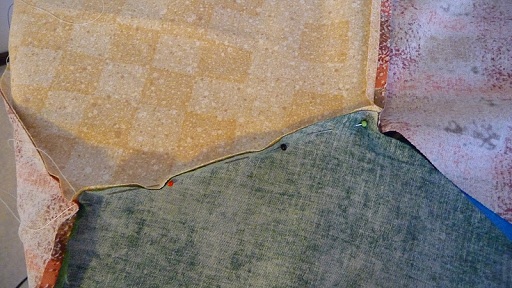
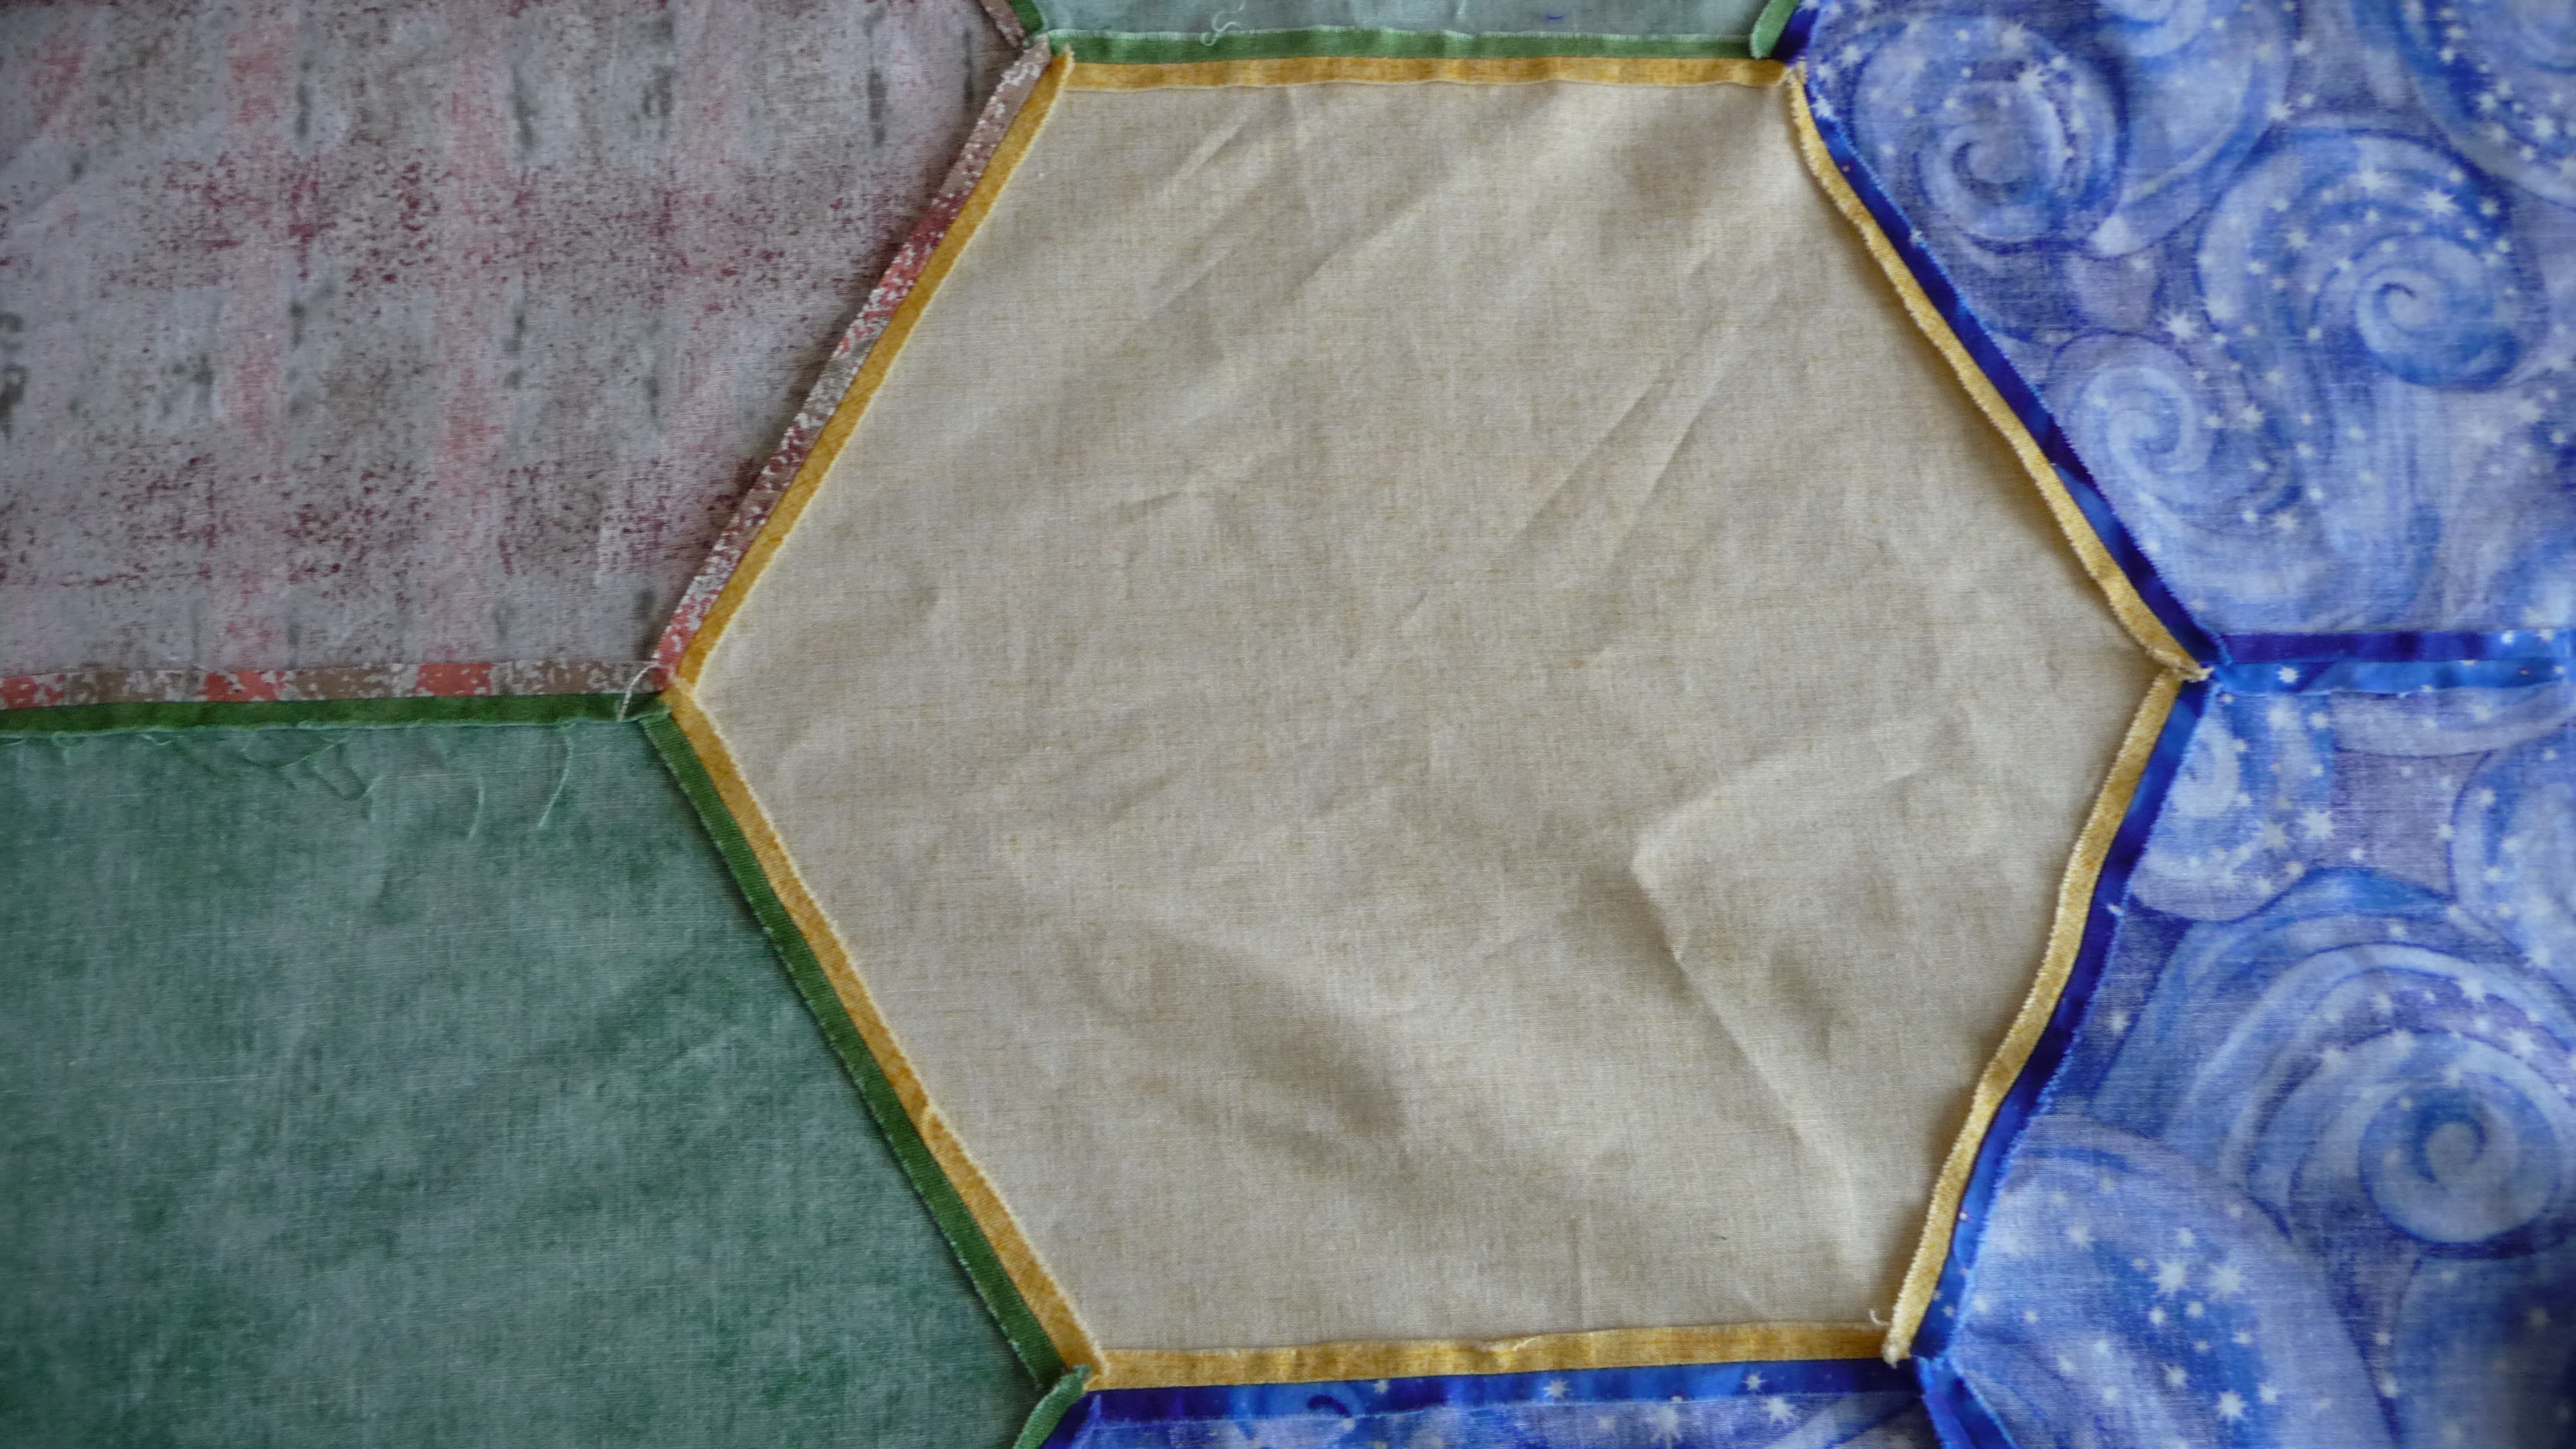
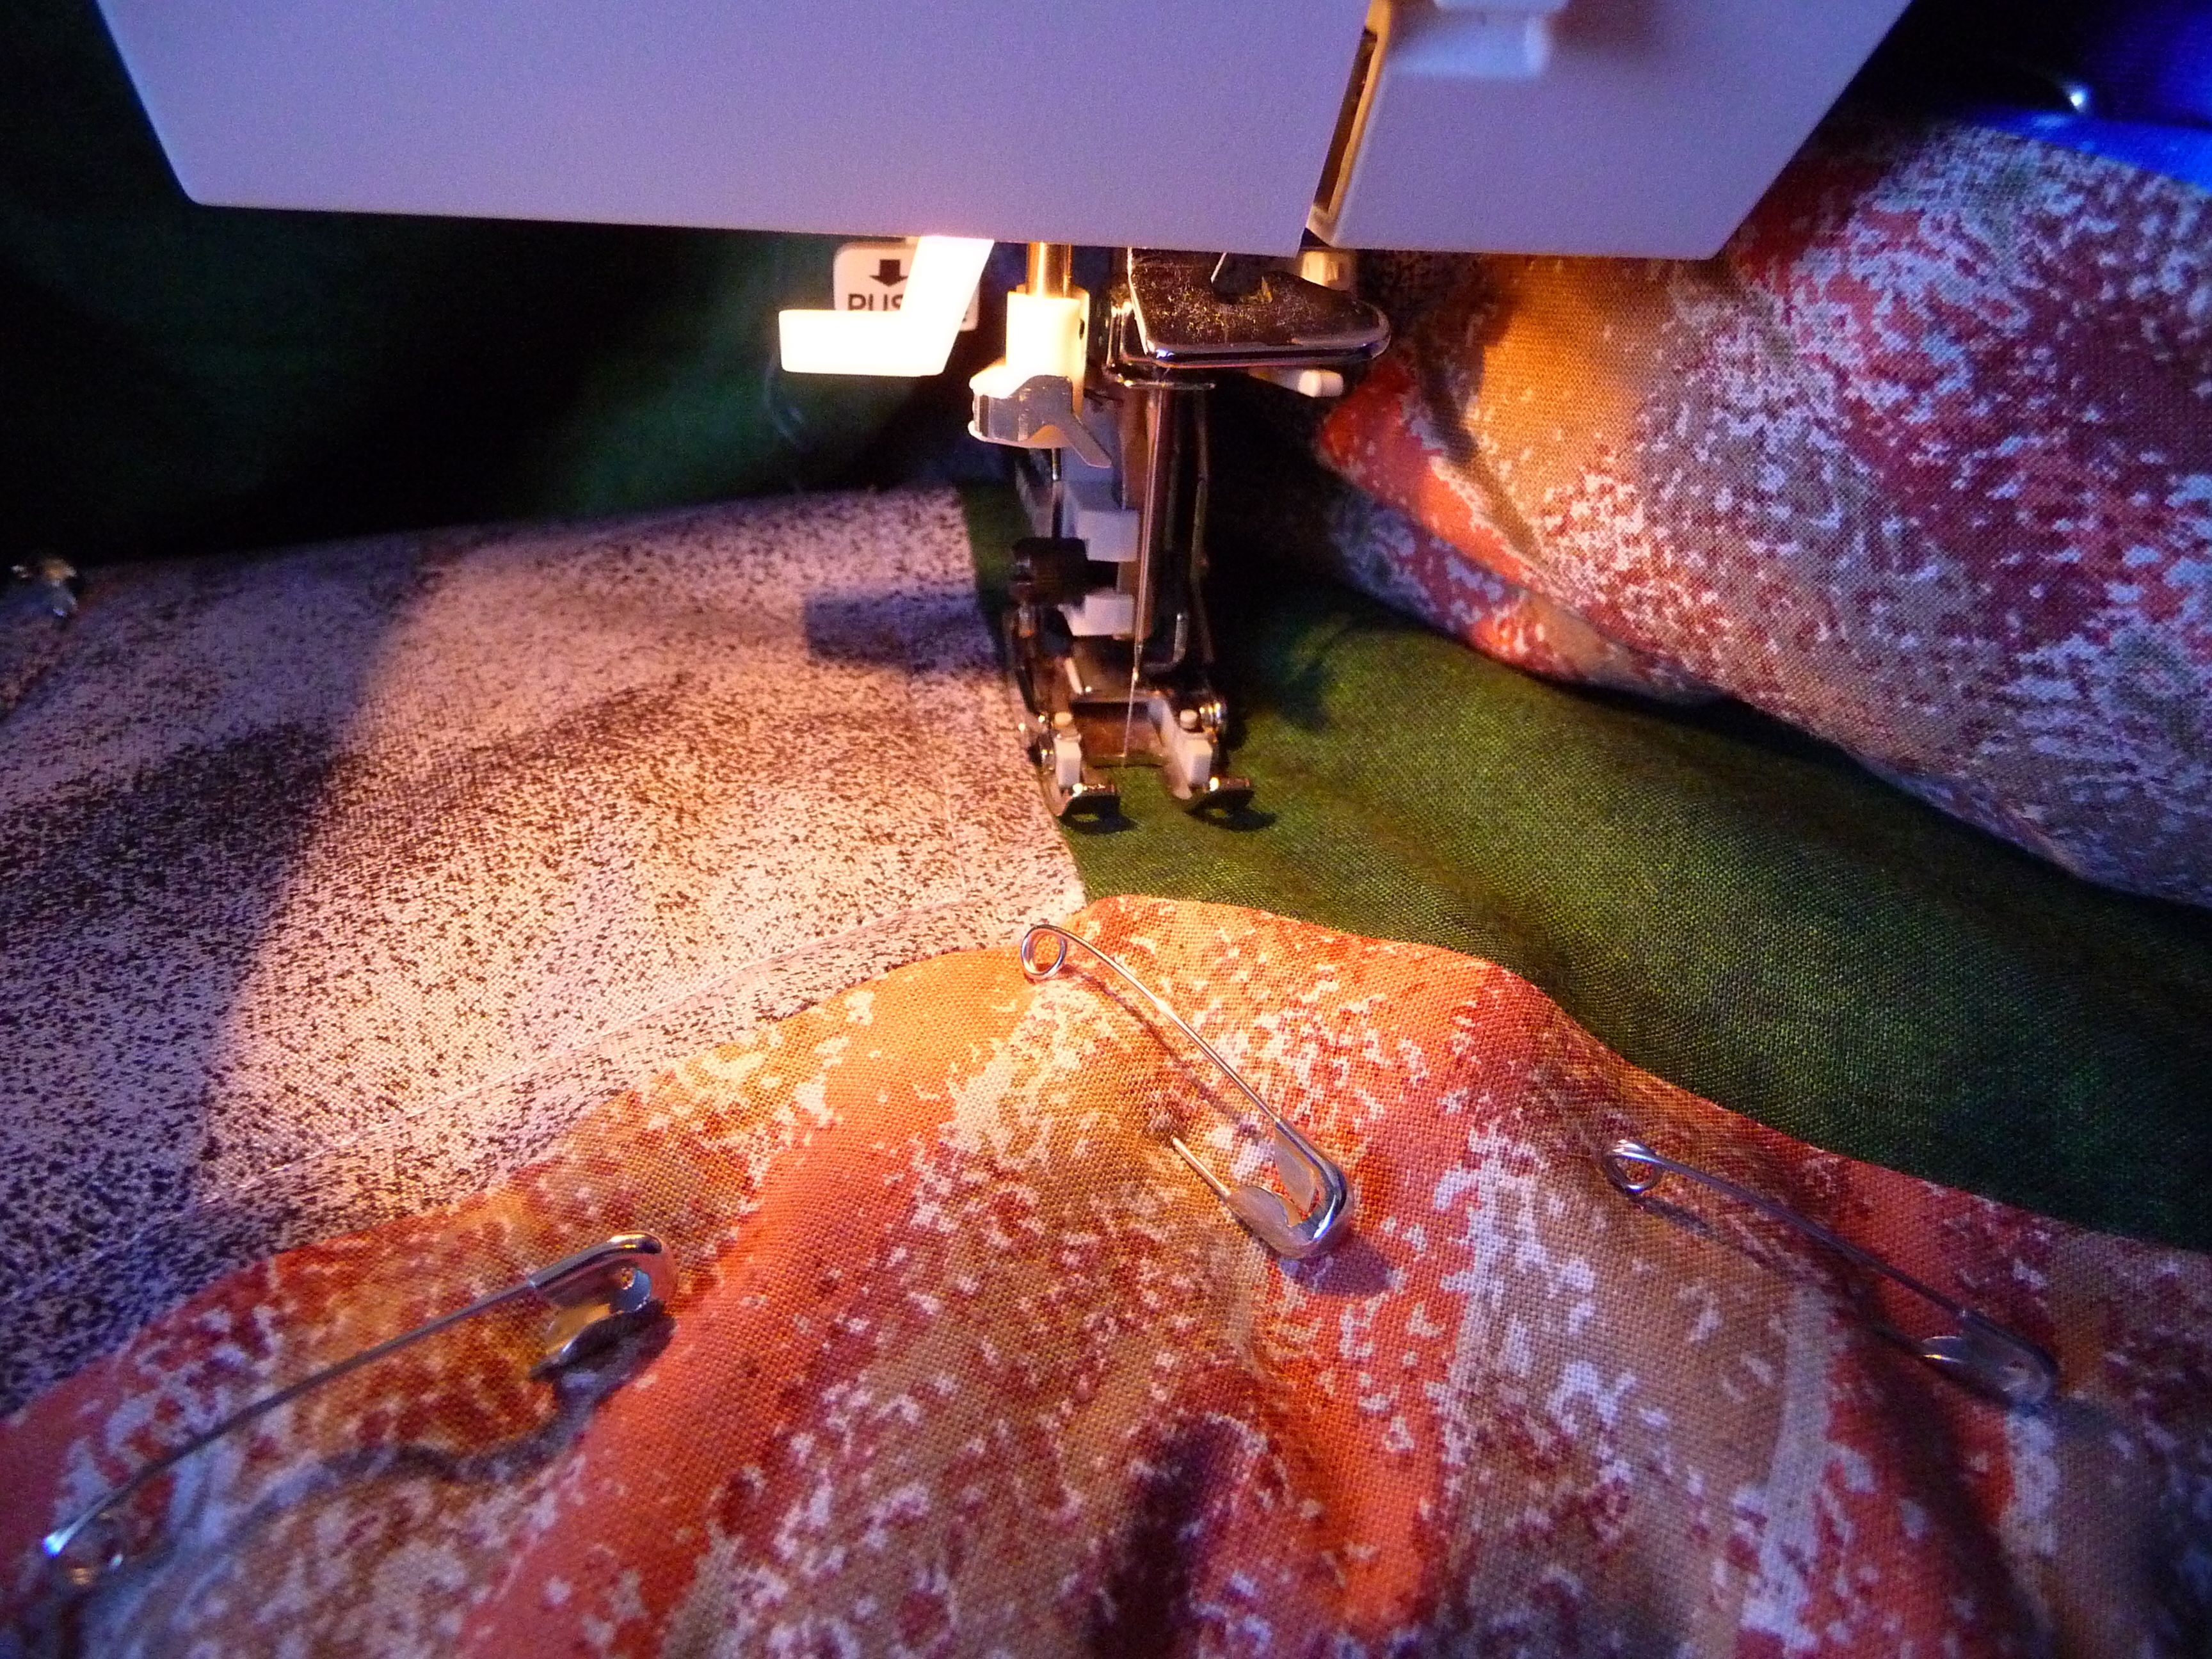
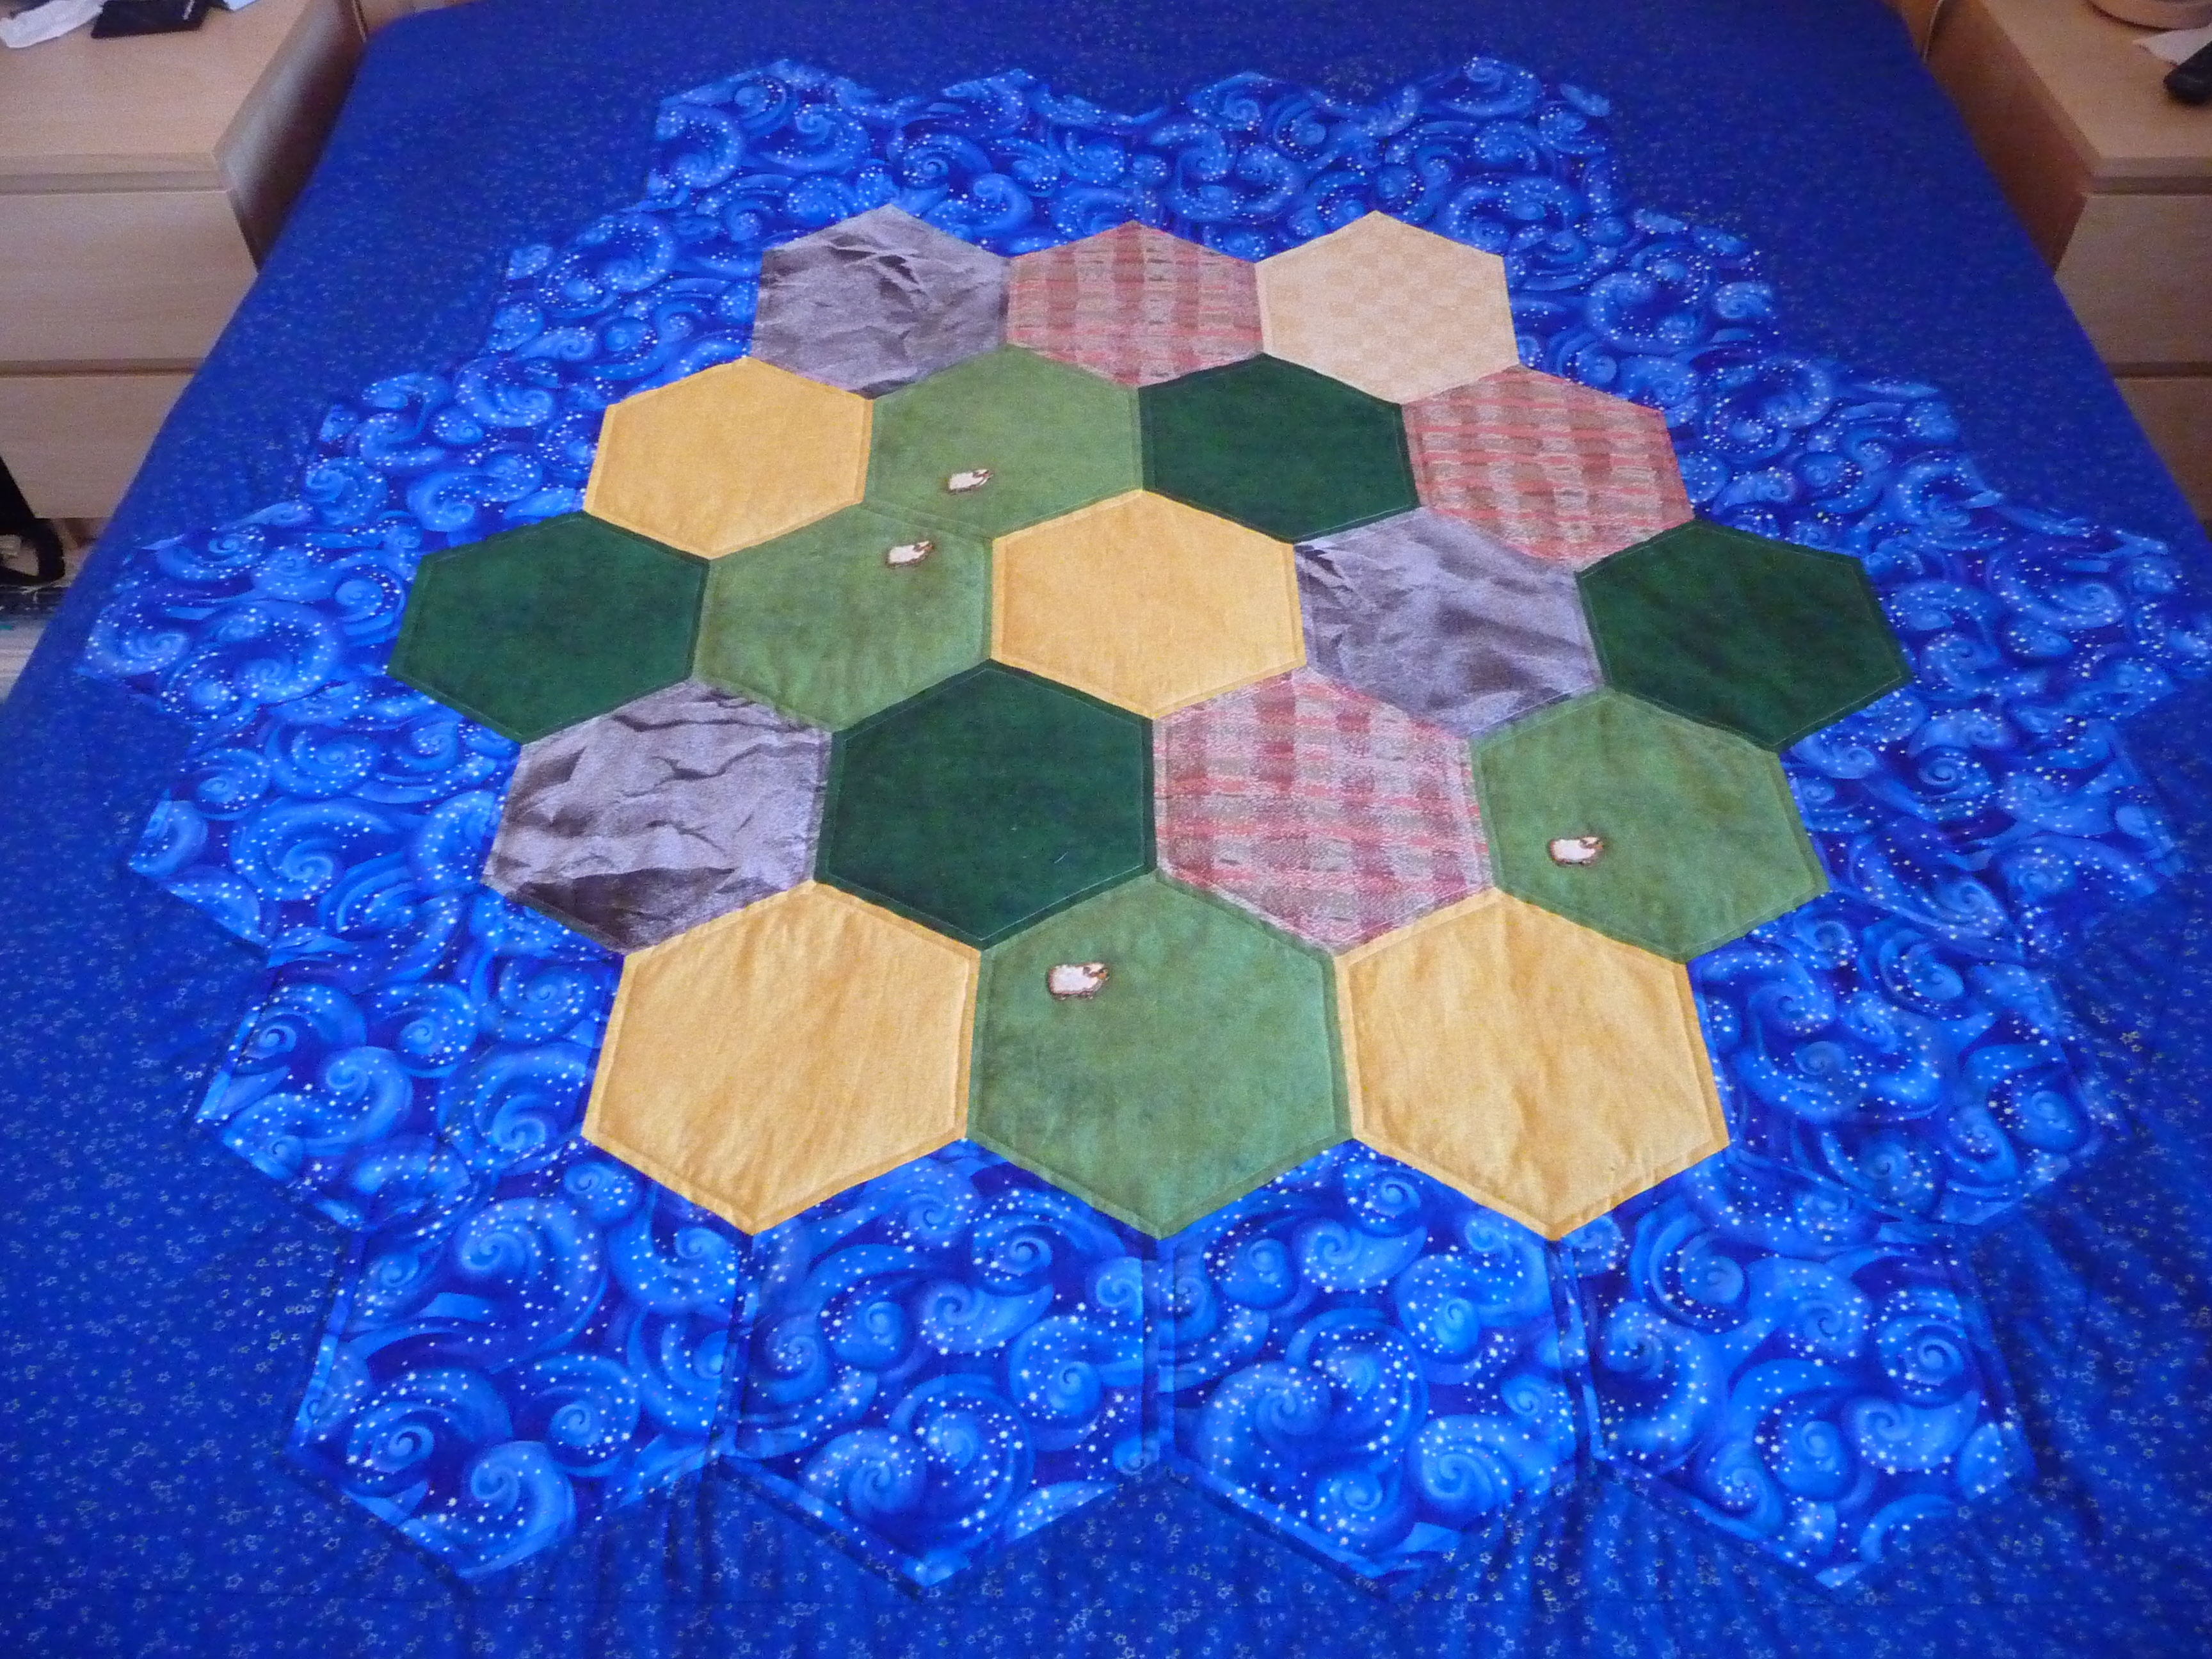
I started from the middle board piece and moved outwards from there, sewing every second hexagon first, then the ones that were left in the second round to keep things even. I did the quilting about 1 cm from the seam inside each of the hexagons, using white (viscose) thread for the land pieces and blue thread for the sea pieces. After all the hexagons were quilted, I quilted all around the game board, again about 1 cm from the seam.
I used safety pins to pin around the hexagon I was working on. Much less blood sacrifices that way than with regular pins. :)
Middle hexagon pinned.
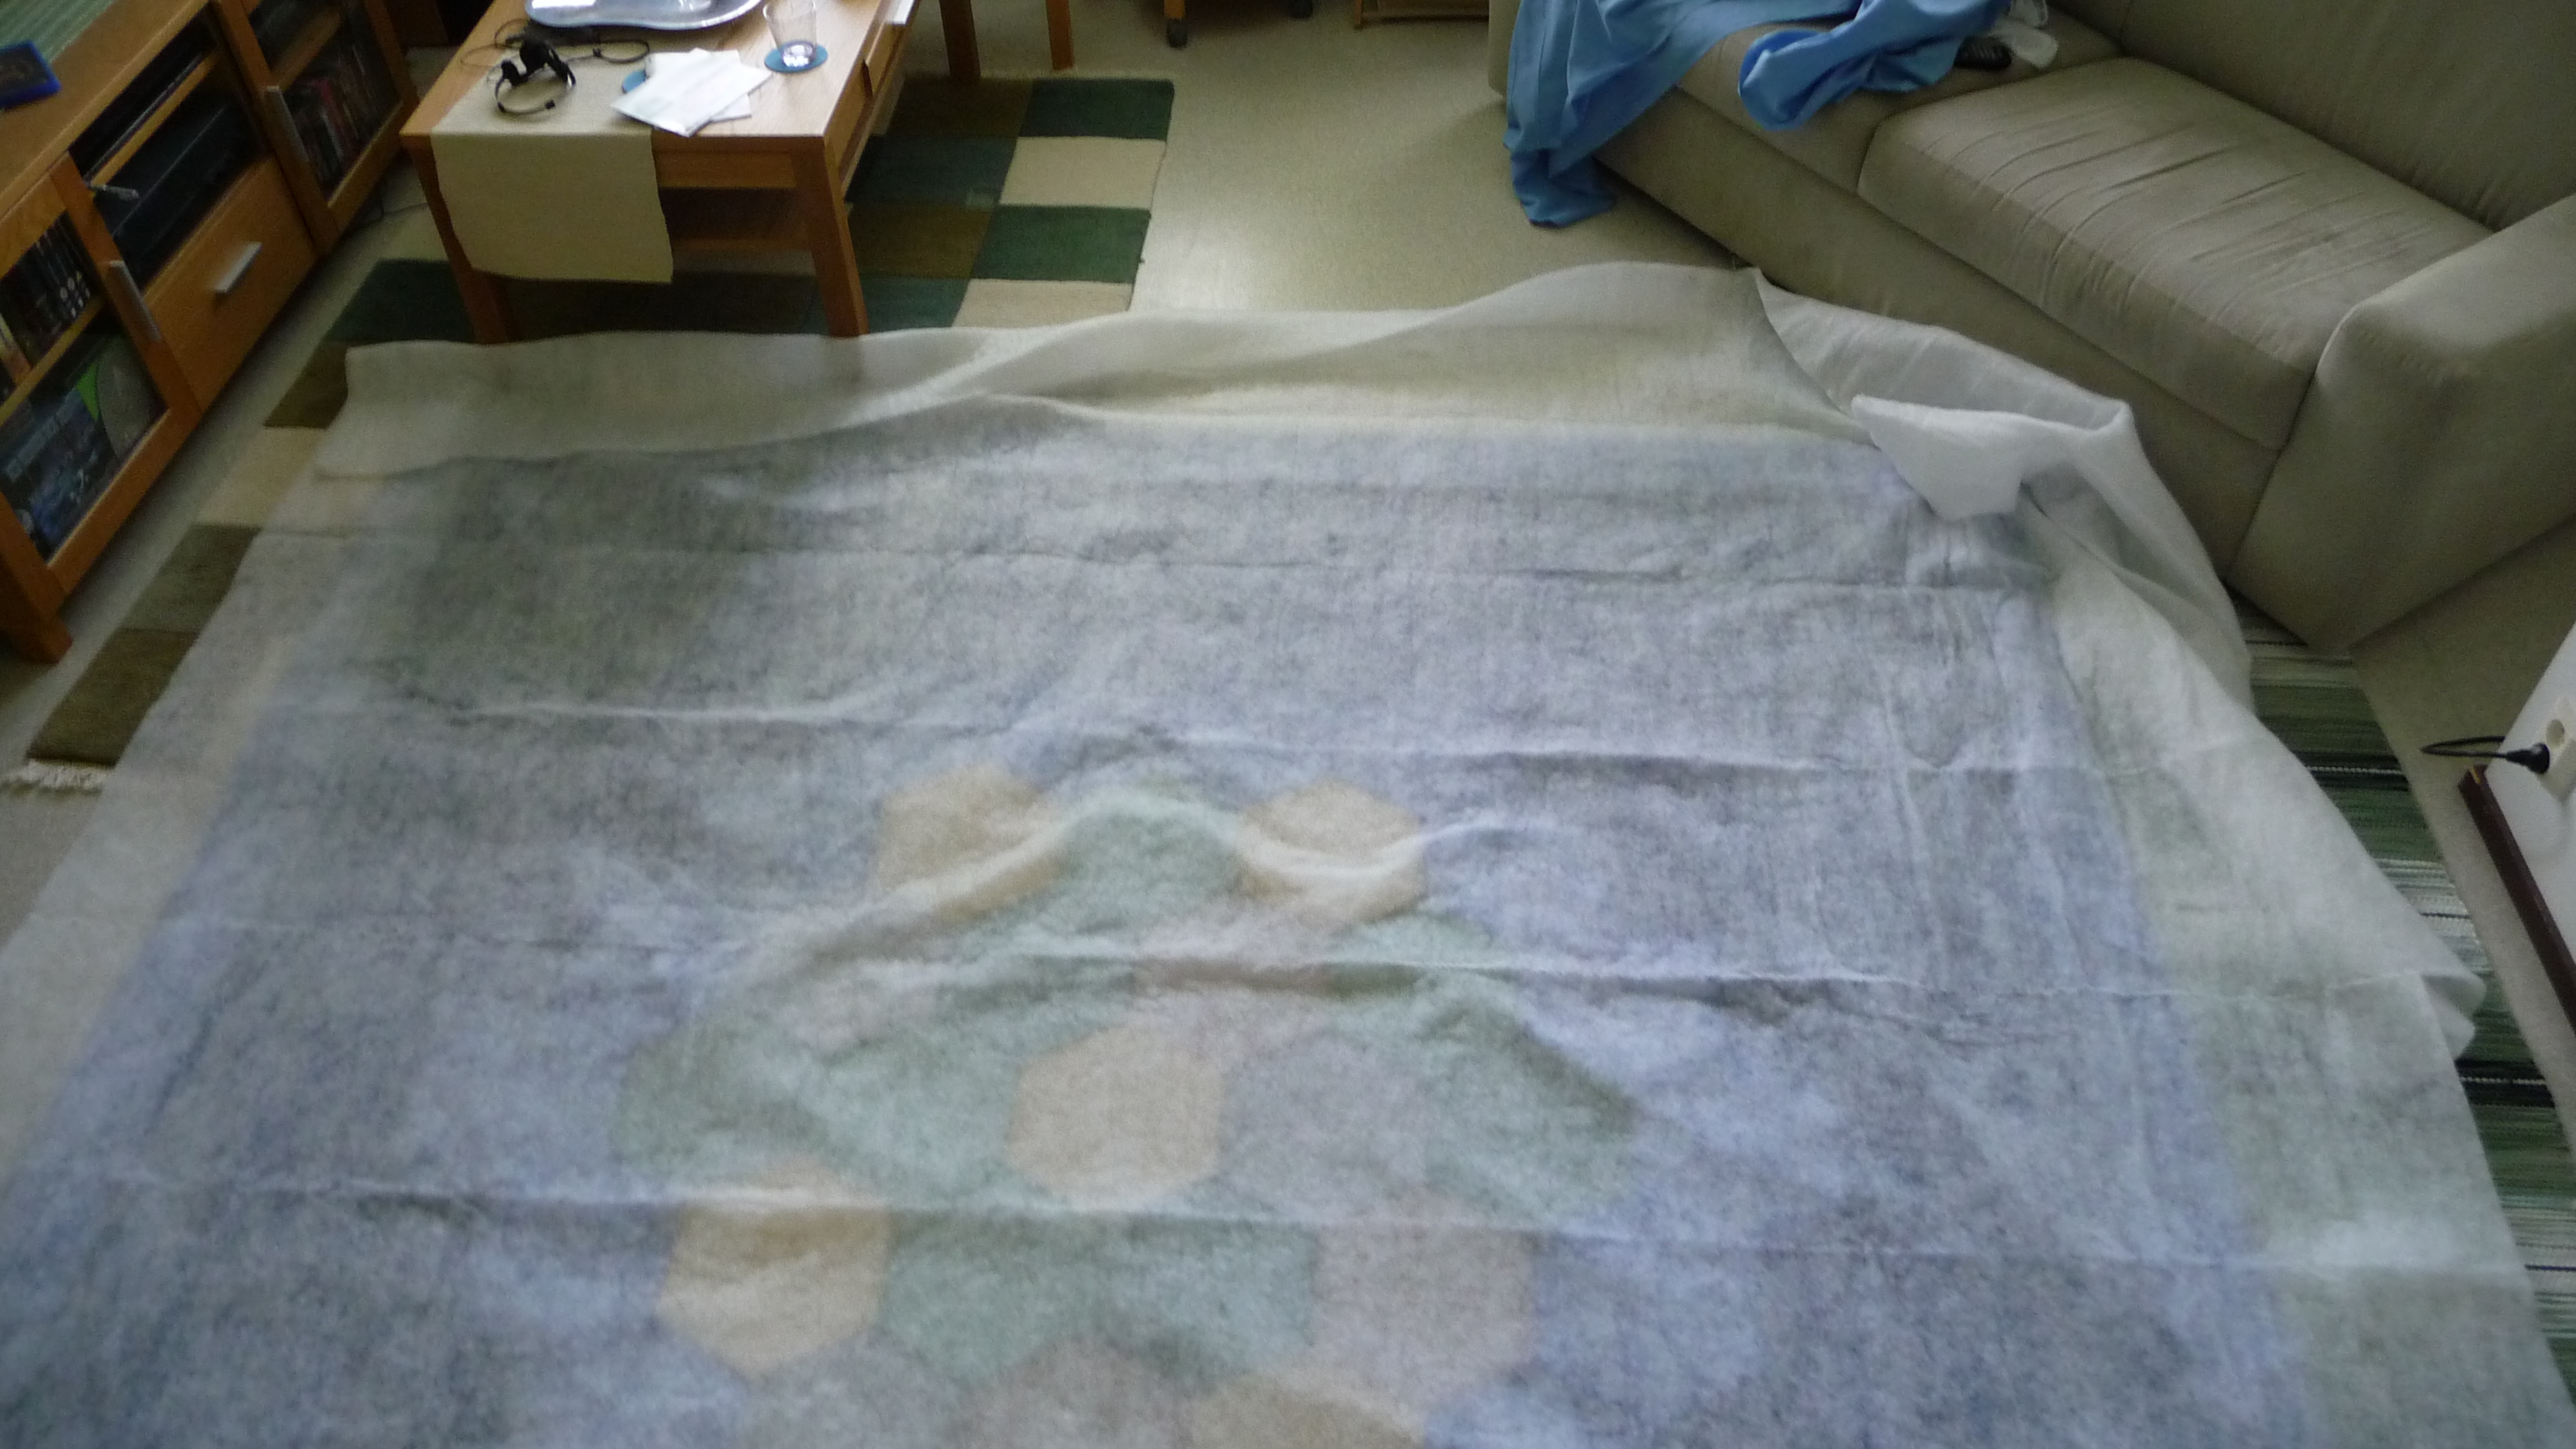
The biggest problem with the quilting turned out to be fitting half the bed cover in the sewing machine, especially with the first hexagon in the middle of the board. I did manage and it got easier the further away from the middle I was. To help with this I also quilted each hexagon in two parts, first 3 edges starting from a point, then the other 3 starting from the same point again, but going to opposite direction.
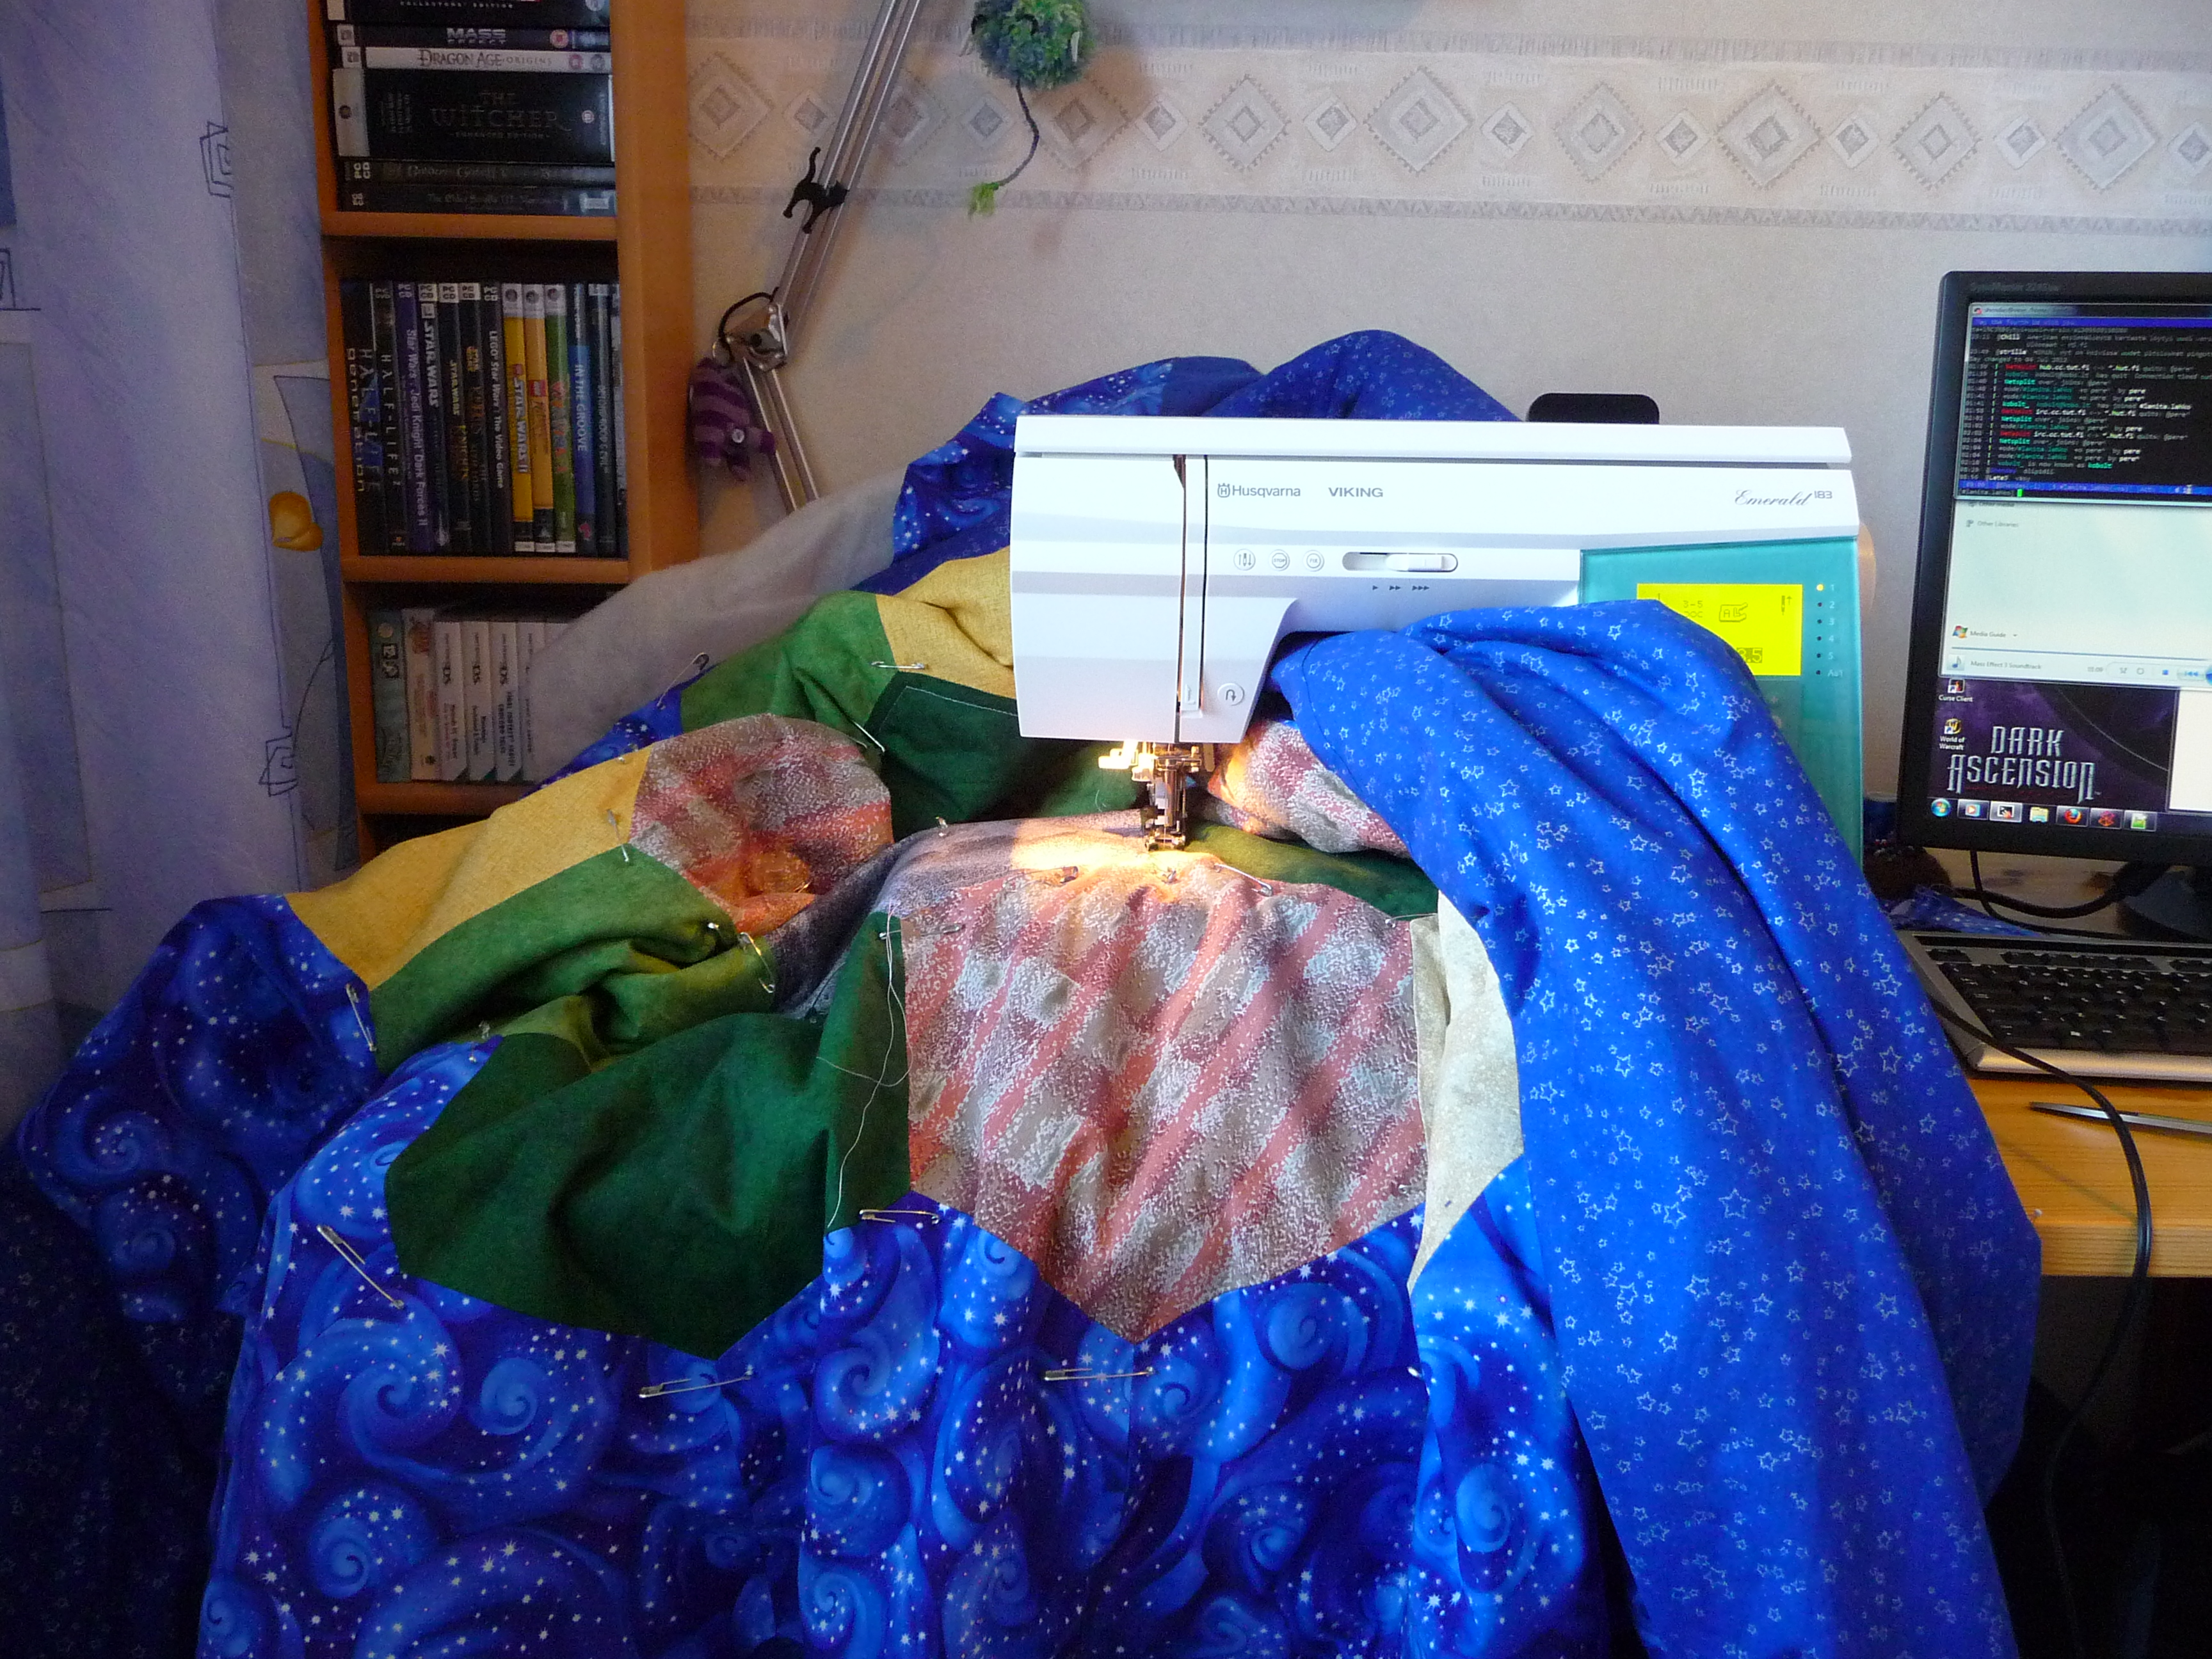 Fitting half a bed cover in the sewing machine was the most difficult part.
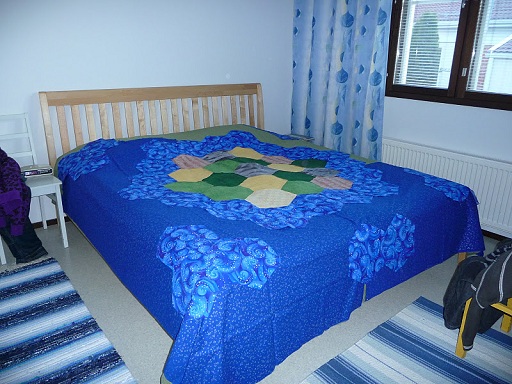
After I was done with the actual game board, I tried to figure out what to do to the surrounding large area of star fabric. In the end I didn't decide anything, but just moved on to quilting closer to the edges. Since the border going over the bed is made from three different fabrics, I decided to just stitch on both sides of the seams between fabrics. There is also stitching on both sides of the part that goes over the edge of the bed.
The sides I just turned to the backside, so as to not add one more stripe of different pattern where there were already three. Plus it was cheaper than getting bias binding. :)
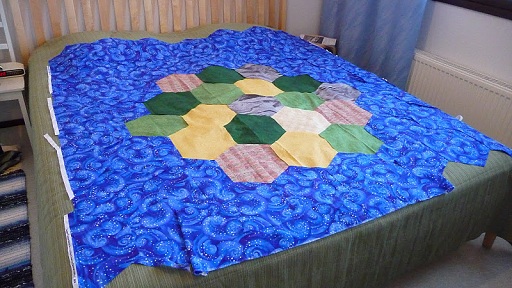
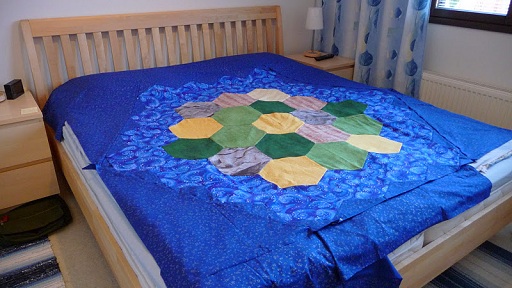
And finished!
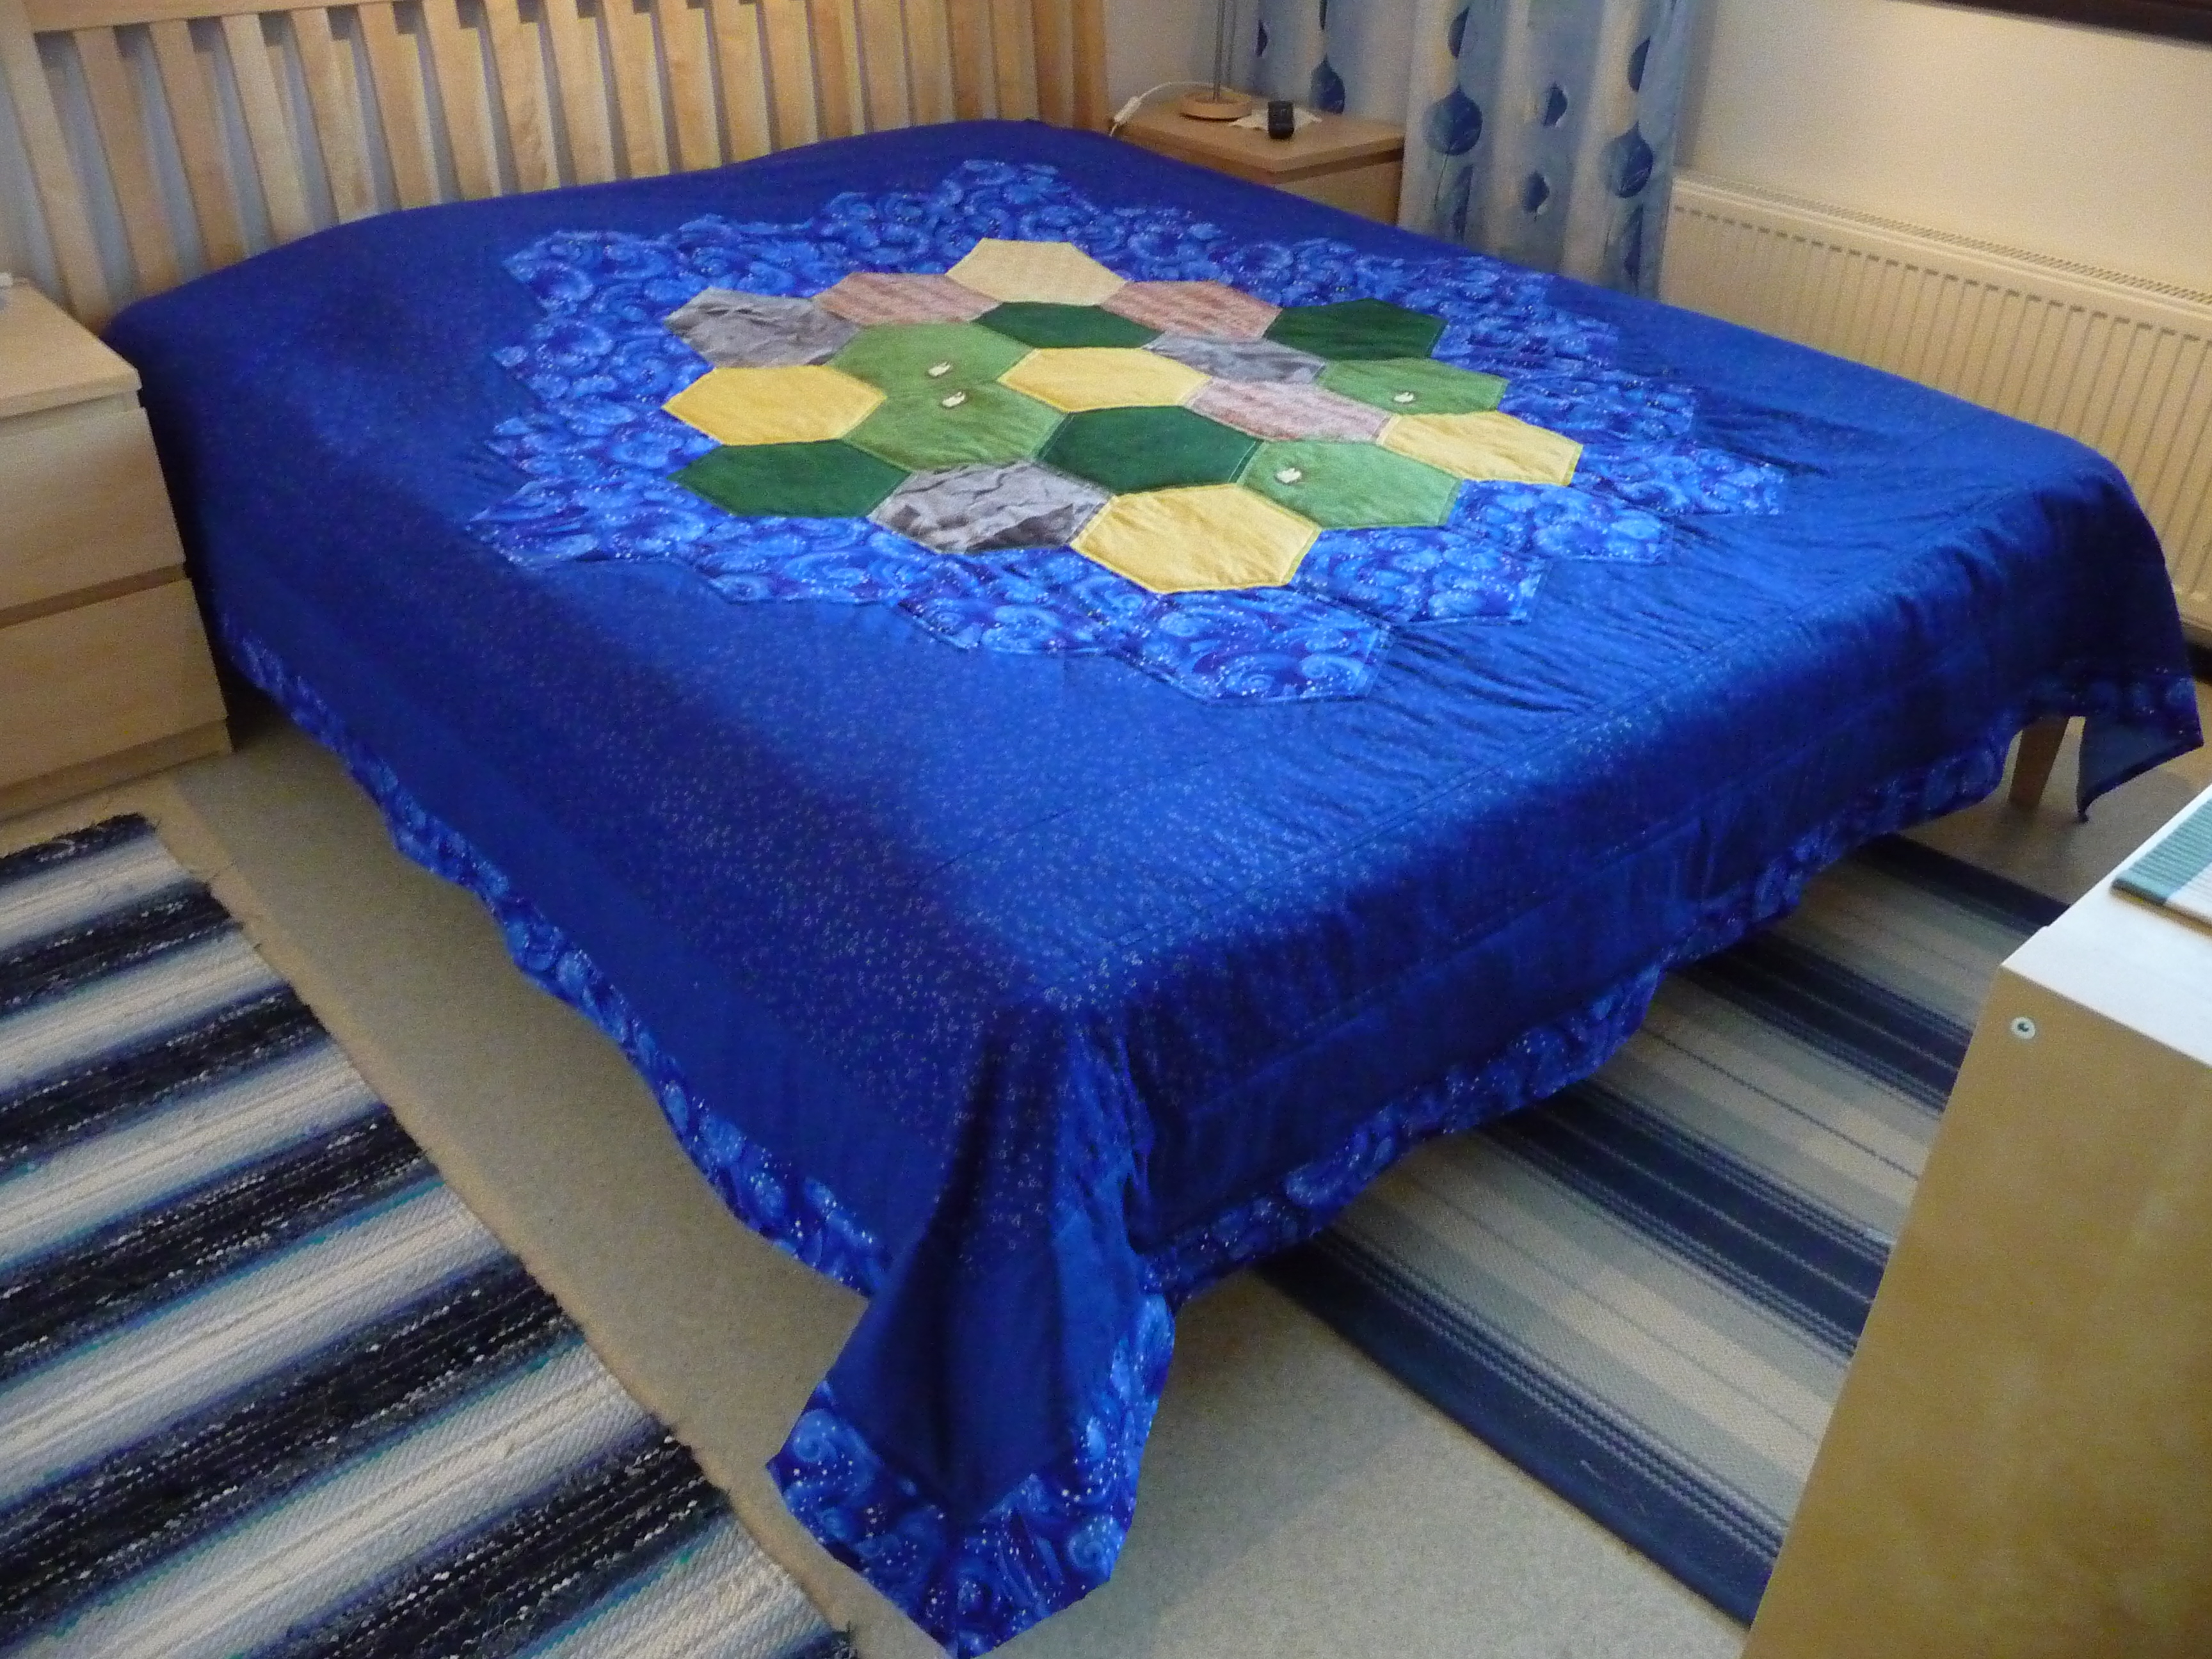


Took about 2,5 years to get to this point, with the many long pauses I had. x)
I am still not sure if I should do something about the star area outside the game board, so far couldn't come up with anything that would look good enough. The quilts around each seam at the edges will hold it together just fine. Probably will not do anything more. :)
So yes, finally finished with the thing. \o/
Big thanks to my mother and her co-worker Päivi for some of the fabrics, lending me equipment and especially for all the advice. Teh Internez was a big help in the latter also. :)
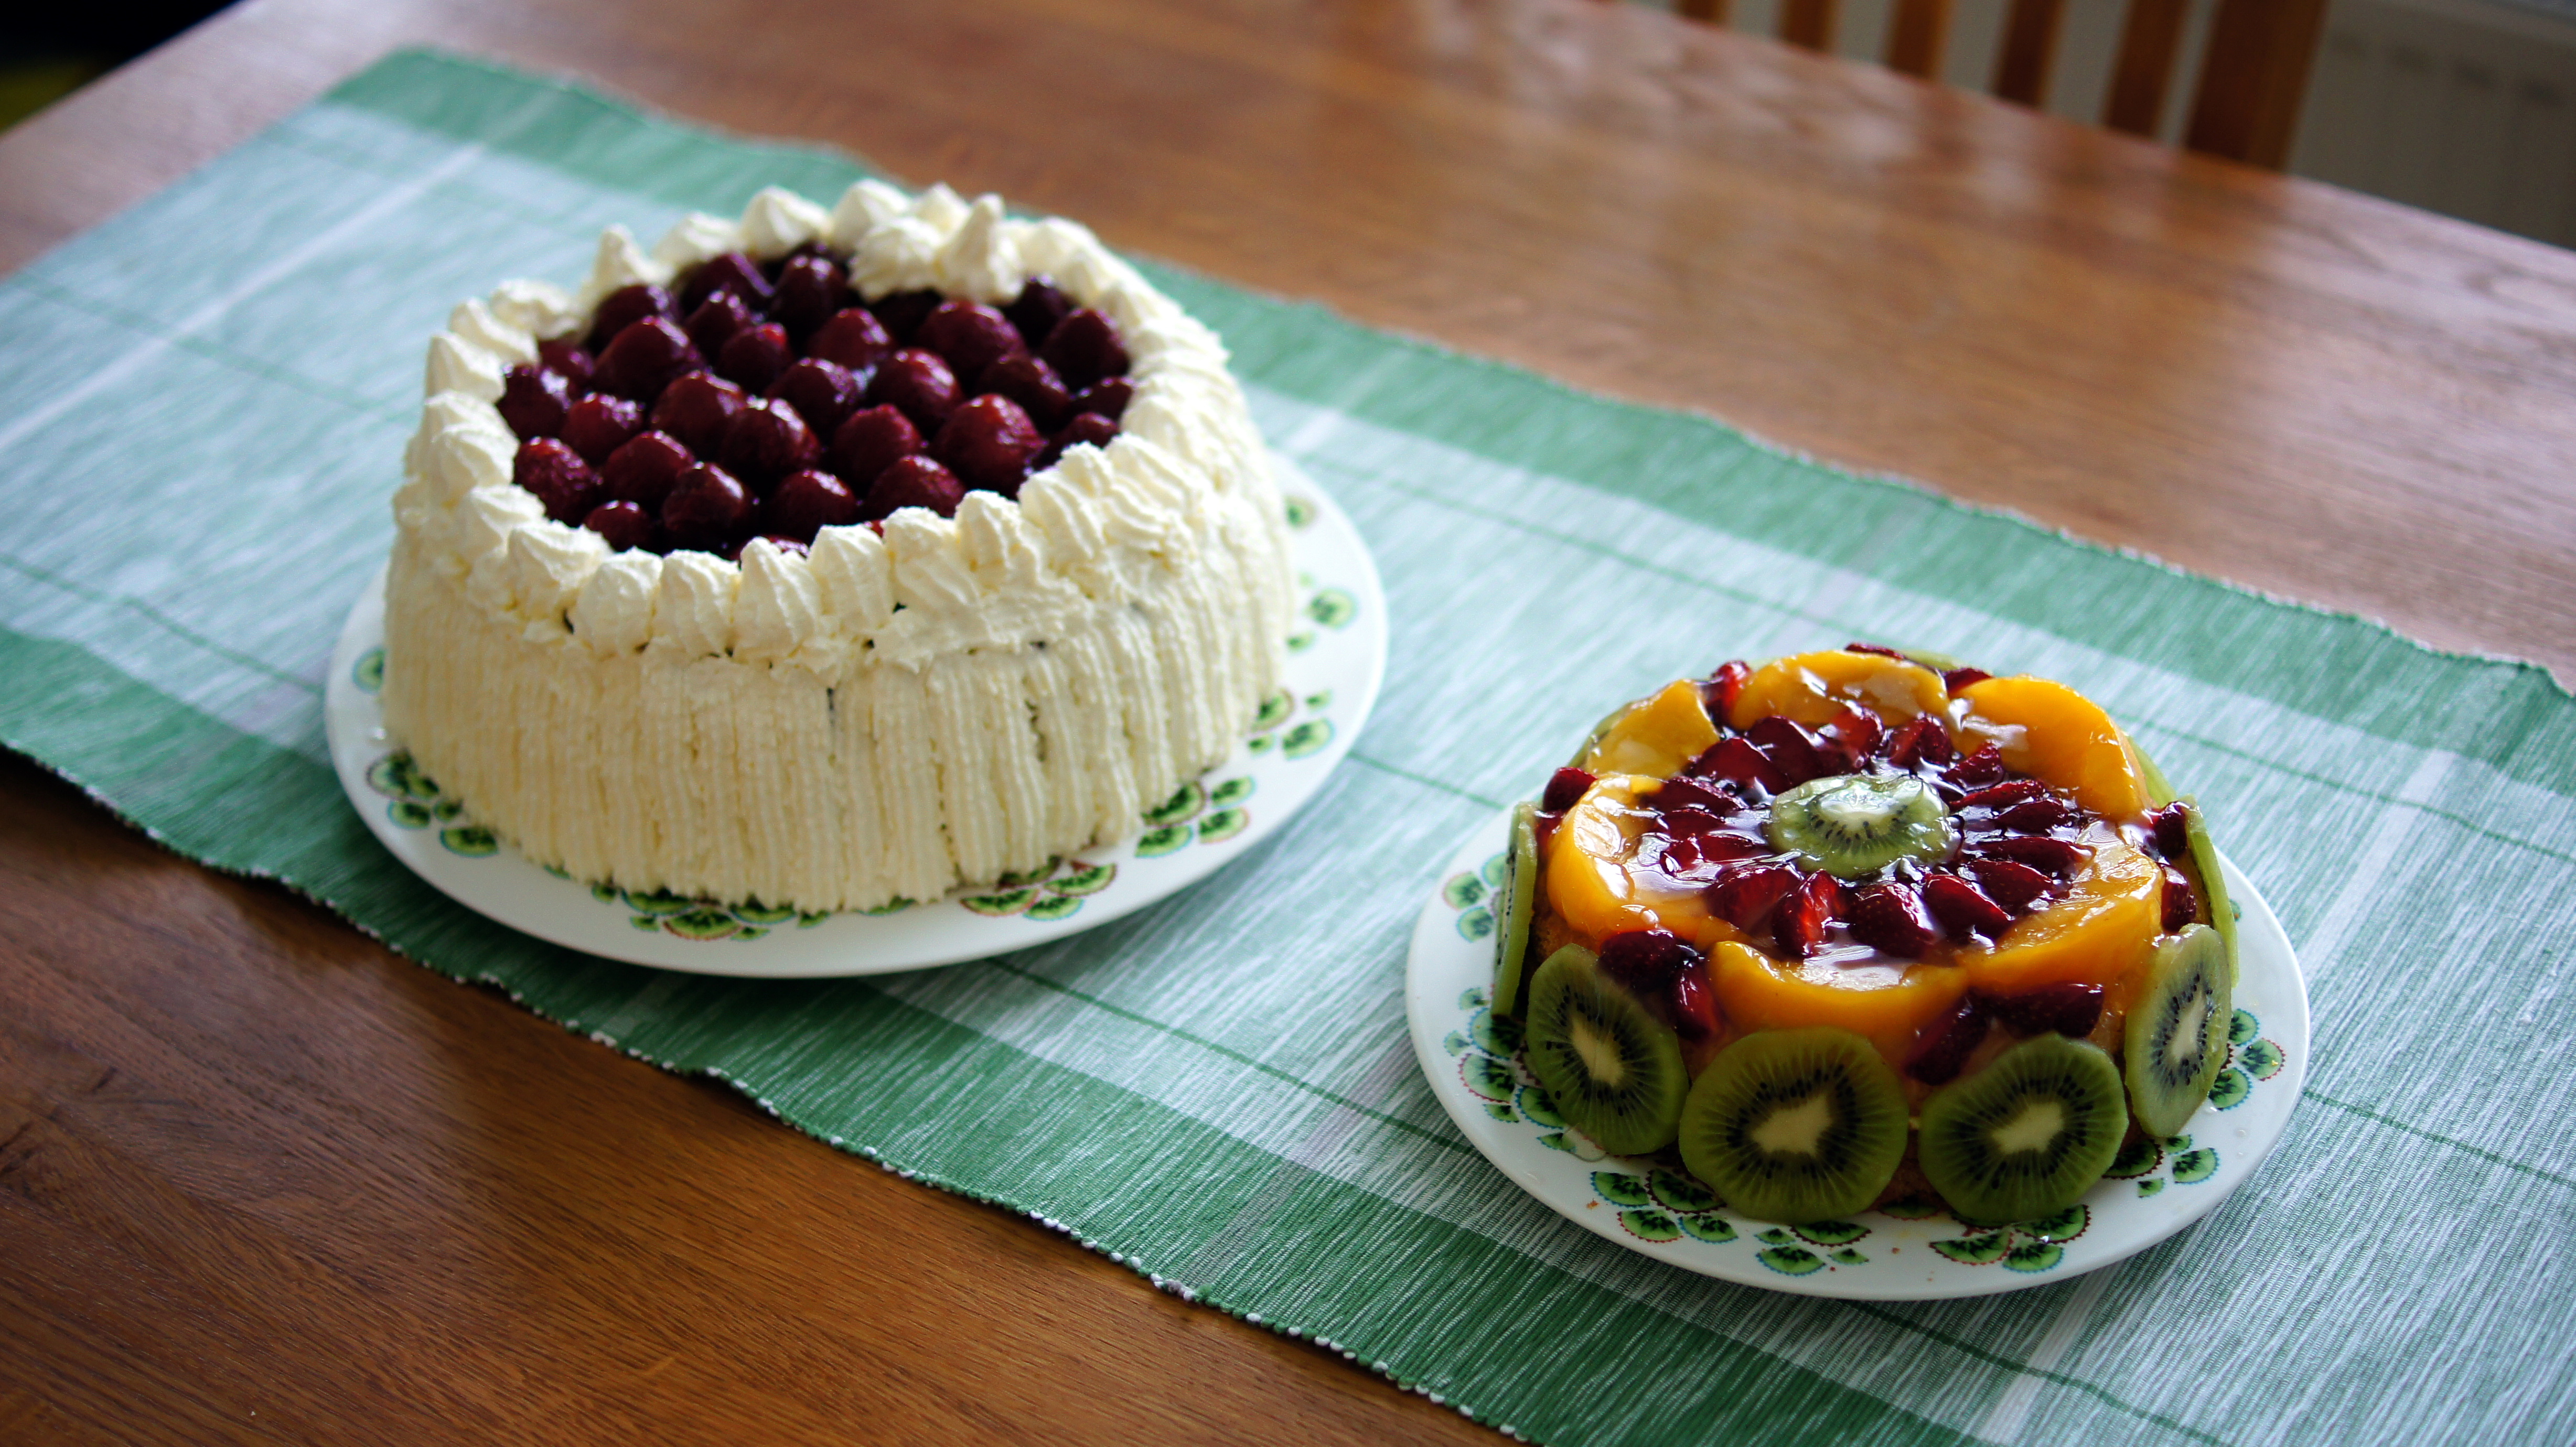
Cake! (and some Catan)
I promised strilla cake and some Settlers of Catan after I finally finish this project. :)
© 2011-2026 Peeta Kiikka | Template design by Andreas Viklund