Triforce Bird
Idea
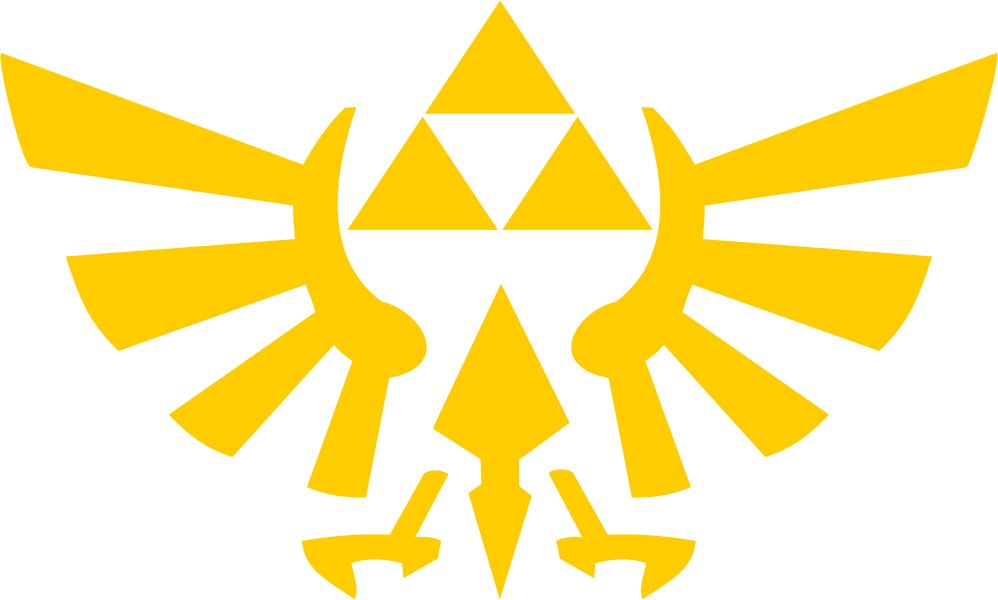
I got an idea to make a Legend of Zelda -themed quilt. The one thing I knew from the start was that it should have Triforce itself: three golden/yellow triangles arranged in a triangle. Since my last quilt had a lot of hexagons, I thought it would be great to use mostly triangles this time. And of course simply doing Triforce is too simple, so I thought I'd do the Triforce bird logo using only triangles...
I used triangle grid .gif I found on Google and MS Paint to try out some options.


 At the moment I think I like the bottom left one the best. One problem with v2-v5 is that there are a lot of triangles in them. The wingspan is 21 triangle edges wide in v4. And since the plan is to make the finished thing ~1m wide, with some space left for border, this means each triangle would have edge length of only 4cm. That means a lot of tiny triangles..
I think I might want to simplify the idea a bit though: make the triangles as large as possible like this:
 This one is asymmetric on purpose, to test different ways of combining the small triangles:
 And how it would look on green background:
 Pics of the different versions I tried can be found in here.
Mats
My plan is to use the same green I used in the inside of hood and pockets of Raincoat as the main background color. Link, the hero/player character in Zelda games always wears green, so it fits imho. :)

Yellow was more difficult. I first checked my mother's stash but she had only some very small pieces none of which I really liked. I bought some plain yellow just in case before finding light yellow with stars and moons and then the best one: small pattern and sorta golden yellow shade.
More plans
I pretty much decided on the last version of my modified pattern. Going to add one more change in it: I want this to be roughly square in shape, so going to add a row at the top and the bottom and cut one row from each side. This means some small change is needed at the top to make it work, bottom works as is.
I also tried to calculate the size. I got about 22 triangle edges long and 24 wide pattern with the modifications. If I want one edge to about 1m long, this means I should use 4cm as my basic triangle edge length. Since I will not be making this all from the smallest triangles, I will need to see how many triangles, isosceles trapezoids (tasasivuinen puolisuunnikas) and parallelograms (suunnikas) of different sizes I need to cut. And also take seam allowances into account...
Here is the plan with sizes and the mod for the top part:

From yellow I will need the following parts:
- 5 x triangles with edge length 3 (middle)
- 2 x triangles with edge length 2 (tail)
- 4 x triangles with edge length 1 (claws)
- 2 x trapezoids edge lengths 7 and 6 (wings, top)
- 4 x parallelograms edge length 5 (wings, middle)
- 2 x trapezoids edge lengths 4 and 3 (wings, bottom)
- 4 x trapezoids edge lengths 3 and 2 (feet, arm top)
- 2 x parallelograms edge length 4 (arm middle)
- 2 x trapezoids edge lengths 2 and 1 (arm bottom)
- 2 x parallelograms edge length 2 (legs)
And from green:
- 17 x triangles with edge length 3 (along the middle, between wing and leg)
- 2 x triangles with edge length 4 (middle top and bottom)
- 2 x triangles with edge length 2 (between wing and leg)
- 2 x 1,5 triangles with edge length 11 (bottom edges)
- 2 x 0,5 triangles with edge length 7 (side edge)
- 2 x triangles with edge length 1 (wing tip)
- 6 x triangles with edge length 6 (top edges)
- 2 x parallelograms with edge length 7 (along the wing tips)
- 6 x parallelograms with edge length 5 (wing tip to claw, between wing parts)
- 2 x parallelograms with edge length 6 (along triforce edges)
- 2 x parallelograms with edge length 2 (between wing and leg)
- 4 x trapezoids with edge lengths 3 and 2 (tail edge)
- 2 x trapezoids with edge lengths 2 and 1 (between claws)
- 2 x trapezoids with edge lengths 8 and 7 (top of wing)
- 2 x trapezoids with edge lengths 6 and 5 (between top and middle wing parts)
Final plan
In the end I decided to make this as an applique. So instead of calculating the seam allowances needed in all those pieces and cutting and sewing them together one by one, I will just cut 9 larger pieces from the yellow fabric, that I will then sew on top of the green. Way less pieces, way less work and I don't need to worry about every single tiny piece aligning properly.
The 9 pieces in this scenario are:
- 2 x wing
- 2 x leg
- 3 x triangle
- body
- tail
After all the plans, action!
I have only done applique once before and that was quite small and very much improvised on the spot. What I did was sew the pieces by hand first so they wouldn't move when sewing with the machine. After that I took out the hand sewn thread.
This worked well enough for the small pot holders, but for a larger thing it isn't the best. Luckily strilla told me of "liimaharso", which is basically buckram that has glue on both sides and is often used when doing appliques. So I bought some of that, printed the triforce bird in the proper size and after some cutting and taping, drew all the pieces needed on the buckram.
© 2011-2026 Peeta Kiikka | Template design by Andreas Viklund