Tardis purse
Sadly, it is not bigger on the inside. :)
Start of the project
I am a regular visitor at I Can Has Cheezburger and related sites. Last spring I saw this picture of a really awesome TARDIS purse someone had at San Diego Comic Con. I am a fan of Doctor Who (after 2005 relaunch, I have not seen the older series), not sure if the purse looks quite as cool if you have no idea what it is supposed be. x)
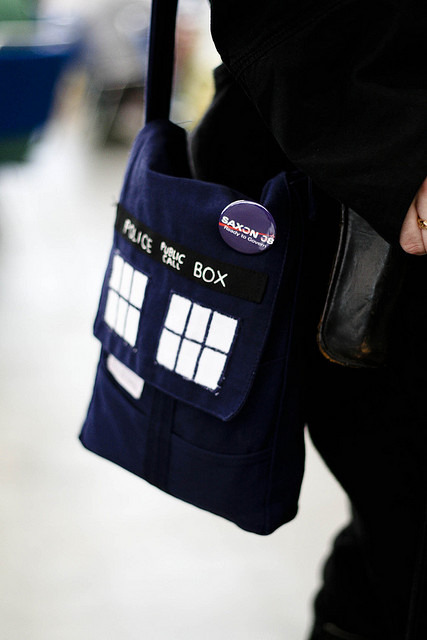
I was really impressed and wanted one just like that. Did not get to it right away though, since I forgot it for about half a year. The idea came back to me after visiting Kädentaidot handicrafts fair on November 19th. I bought a shopping bag (with a really cute picture of a fox and a fairy) that is made of this rather strong fabric. I realized my Marimekko Olkalaukku is also made of similar stuff, so it should be fine for a Tardis purse also.
Gathering the materials
I went to Eurokangas at Tullintori, Tampere and the fabric is apparently called canvas. Asked for 0,5m in navy blue (width 1,7m) as I figured I would make it significantly smaller than my shoulder bag, just big enough to fit my Kindle and some other stuff (DS!). For some reason the lady who cut the canvas was quite frugal and my piece ended up being only 49cm. Usually they cut a bit of extra... Got a 10% discount so not too bad in the end.
I knew I had dark blue thread, so now I needed something to use for the Tardis windows and the sign. First that came to my mind was white hobby felt. Felt would be easy to cut to the desired shape and easy to sew on. However it also stains really easily and I could not think of a way to write the Tardis sign text on felt easily so that it would also look good. I then found some reflecting repair patch material. Since it is dark for most of the day during several months a year around here, this would be a nice way to add some safety. The reflecting patch was easy to cut, resistant to stain and really thin, perfectly suitable for my purposes. I have not yet tested it, but I suspect I can write text on it using a permanent marker too.
Also needed was some black band for the "Public police call box" text and some blue to go in the middle. Then I needed some metal rings and a buckle for the shoulder strap. Originally I was going to use the canvas to make the strap, but since they had some nice 3cm wide black strap at Merletto, where I went to get this stuff, I got it too. I forgot to get bias binding while I was there (and only got one ring, went back to get the other one later), so I got it instead from this clothing repair shop in Duo, Hervanta called Pikku Päivänpaiste (Little Sunshine). :)
When I was planning how to make the bag, I thought I could make a zippered pocket at the back. Since I was going to do the flap and the back of the purse in single piece, and the flap needed to be doubled anyway to look tidy, I figured I could just make it doubled all the way. I found an old zipper taken from a Fjällräven Kånken backpack (the main zipper on that one kinda fell apart and I just bought a new backpack in different color), that was close enough in color and the right lenght.
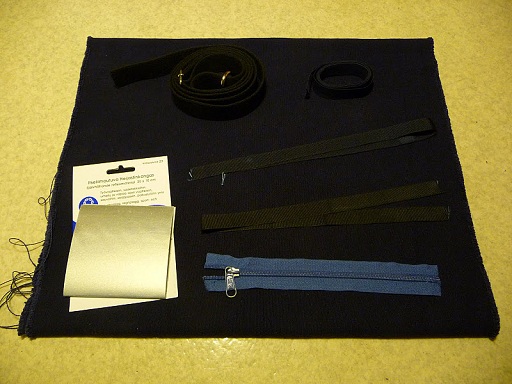 Canvas undermost, shoulder strap with buckle and ring attached at top left, bias binding rolled up top right, below that the blue and black bands. Lower left is the self-adhesive reflector and lower right the scavenged zipper.
Planning and patterns
Next thing was drawing the patterns needed. I did several iterations of the front piece and settled on the one shown. The size is about 15cmx21cm. I also made a pattern for the windows and for the sign.
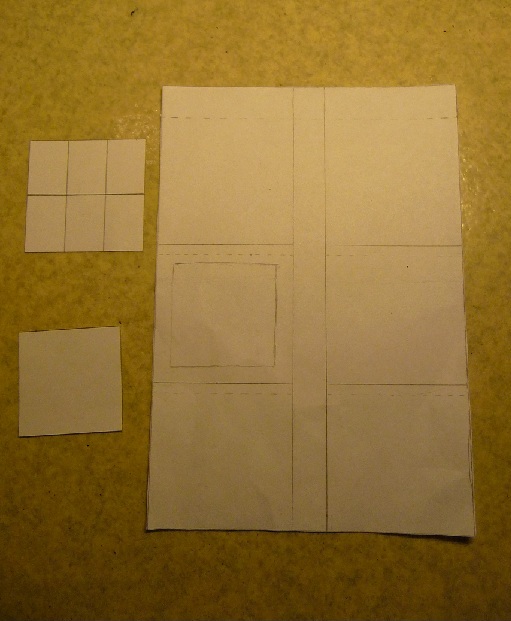 The horizontal lines in the front piece pattern mark the size of the pockets, two on top of each other. Vertical lines in the middle mark the spot for the band that divides the pockets to smaller parts.
I forgot to take pictures of the cut pieces since I was in such a hurry to start sewing. x)
Putting it all together
First thing I did was attach the windows to the flap and the sign to the correct pocket piece. Then I attached the pocket pieces to the front piece and sew the band in the middle. I also zigzagged around all the edges to keep the pockets better in place and to prevent the fabric from unfurling.
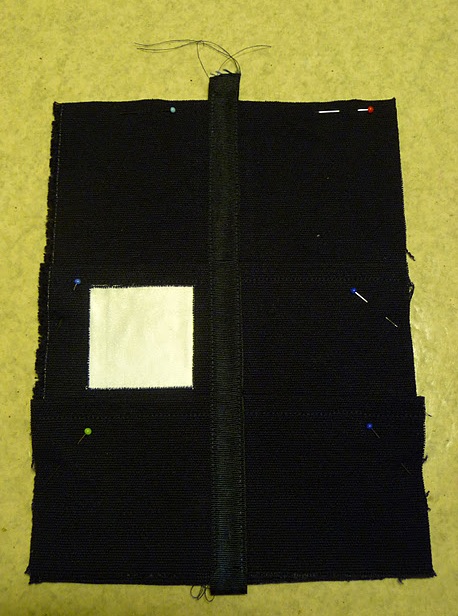
Front piece with the pockets and sign sewn on.
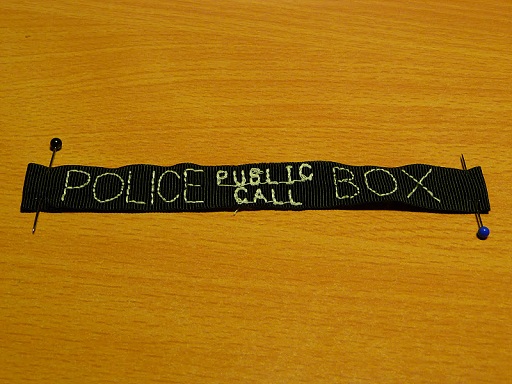
After that it was time for some embroidering. My sewing machine has some embroidering patterns it can do, and it includes letters. They were a good size for the middle two words "public call", so I used them. "Police" and "Box" are embroidered by hand and since this was my first time in trying anything like that, the result is not too bad. :)
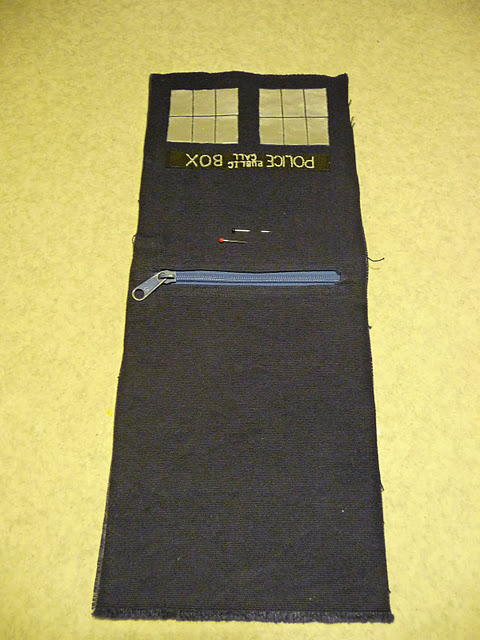
Next step was adding the text band to the flap and sewing the zipper.
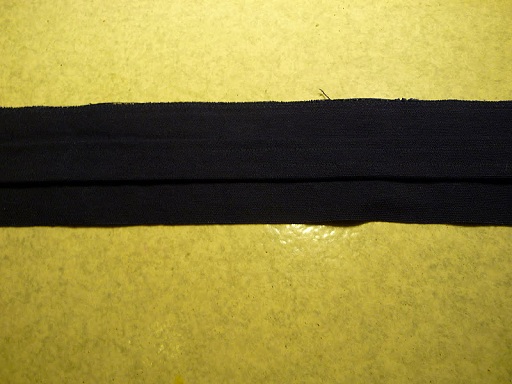
I did an extra band around the sides and bottom so that I could attach the rings for the strap to this band.
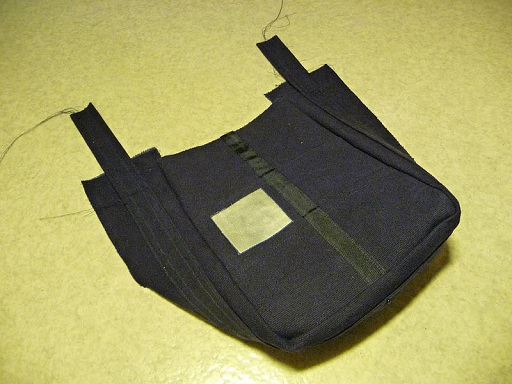
Side + bottom added to the front piece
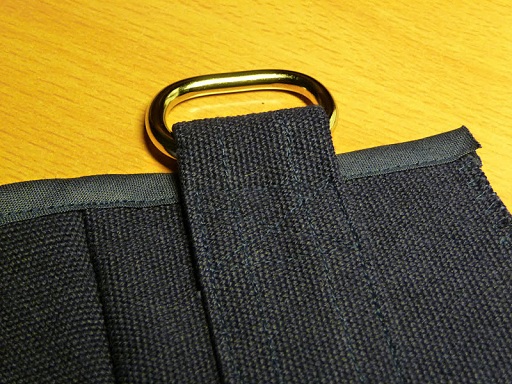
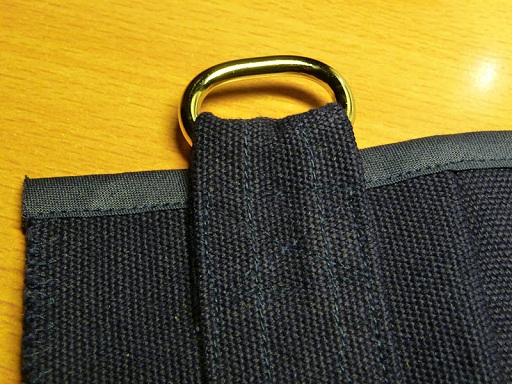
One of my rings is smaller than the other (I got it at different time and of course forgot to check the size). Adjustment is only on one side, so I decided it is fine as both straps attached to it will stay as they are and not move.
Final steps were sewing the back+flap part to the sides+bottom and adding the shoulder strap. I sew the sides to the back piece by stuffing the whole purse between the two back pieces and then turned the whole thing around through the bottom (sorry, no pictures though they would probably help). Finished by sewing the bottom closed.
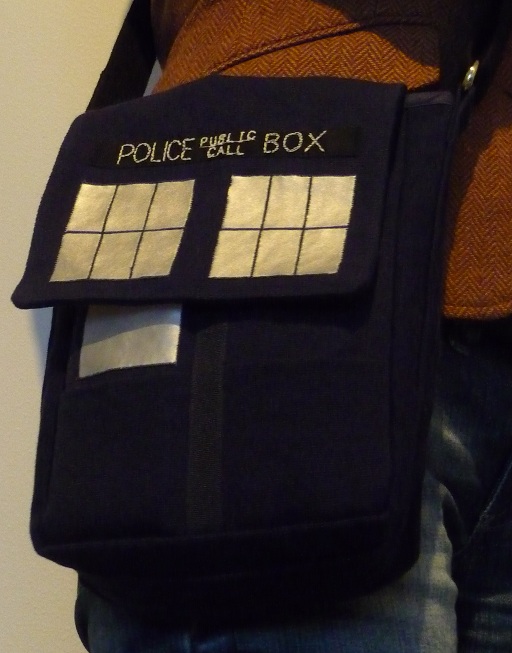
Finished!
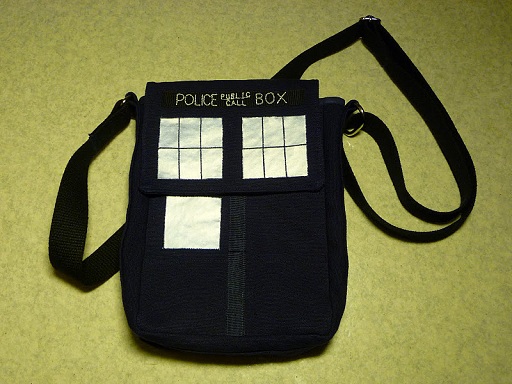
Finished purse!
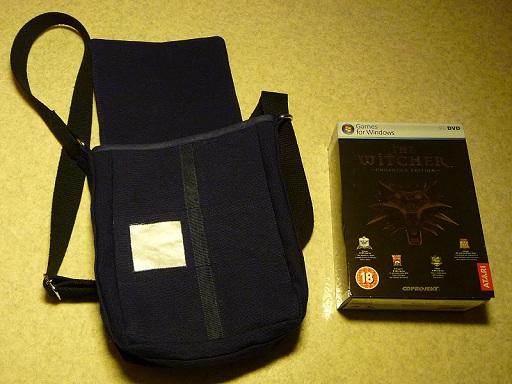
Size comparison to The Witcher EE, the biggest game I found in my shelf.
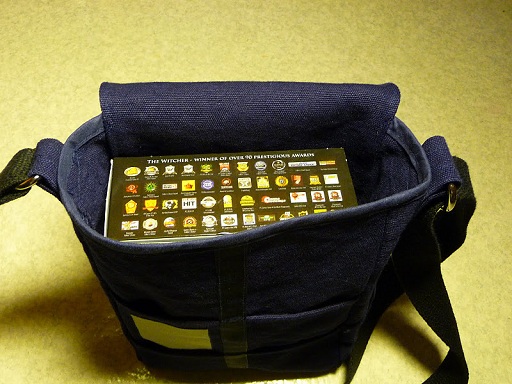
It fits in the purse nicely. :)
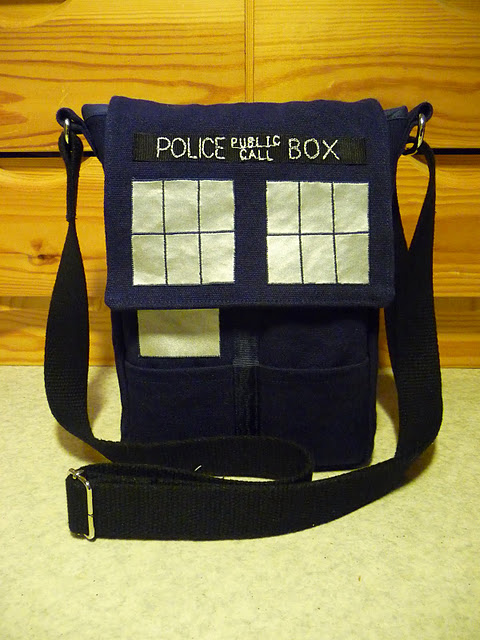
Front side.
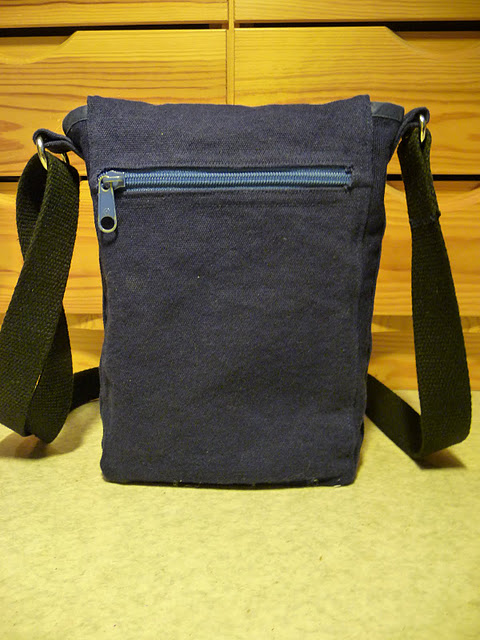
Back side.
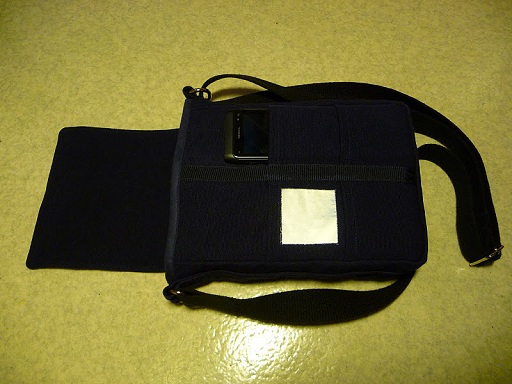
My cell phone (Nokia N8) fits really nicely in the front pocket!
Feelings
Overall I am very happy with the purse. It looks great and while it is a lot smaller than I am used to (I can stuff everything in my Marimekko shoulder bag), I don't think it would work if it was much bigger with dimensions like that (height > width). I am still debating on whether to make a new shoulder strap using the navy blue canvas. I have enough of it left. And I need to find a permanent marker to write the sign text. x)
© 2011-2025 Peeta Kiikka | Template design by Andreas Viklund